7 Essential Wedding Photo Editing Tips for Stunning Memories
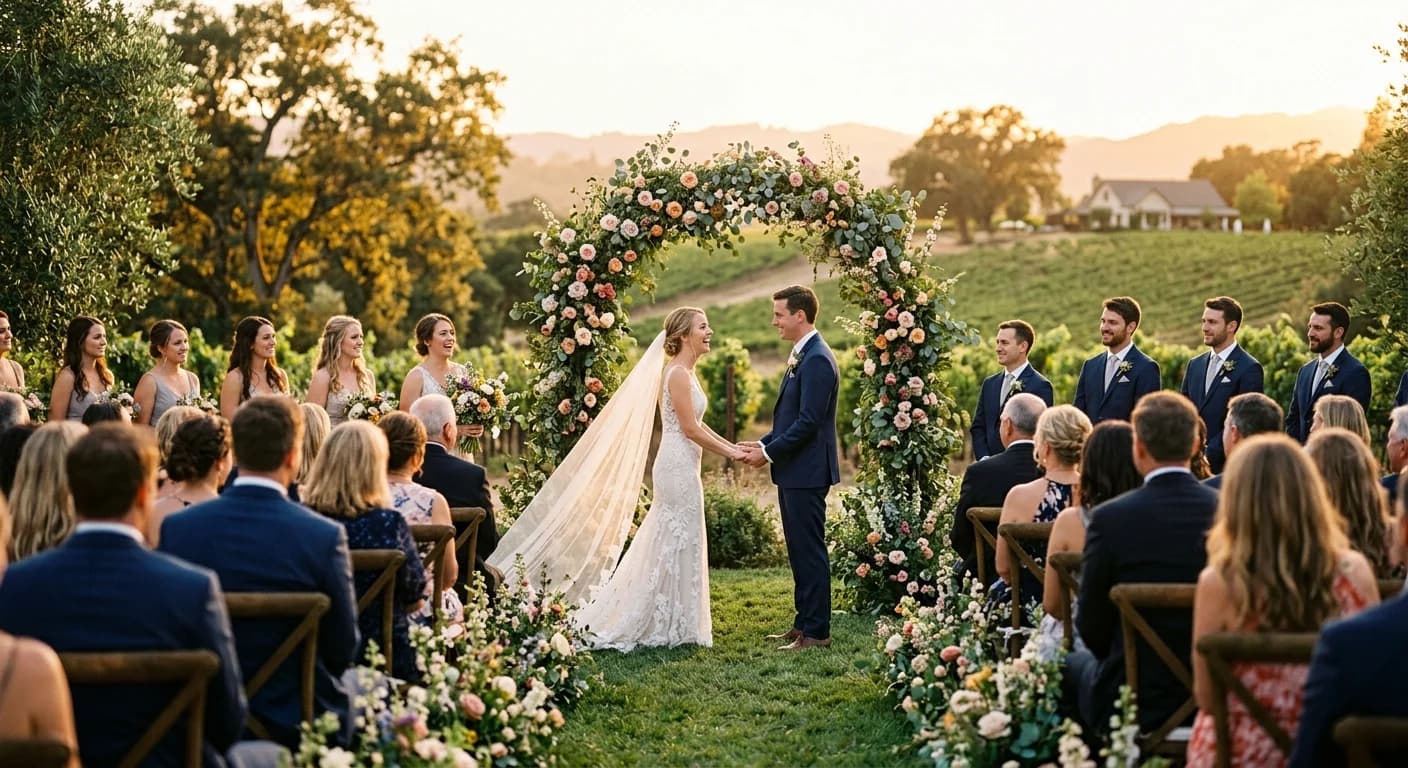
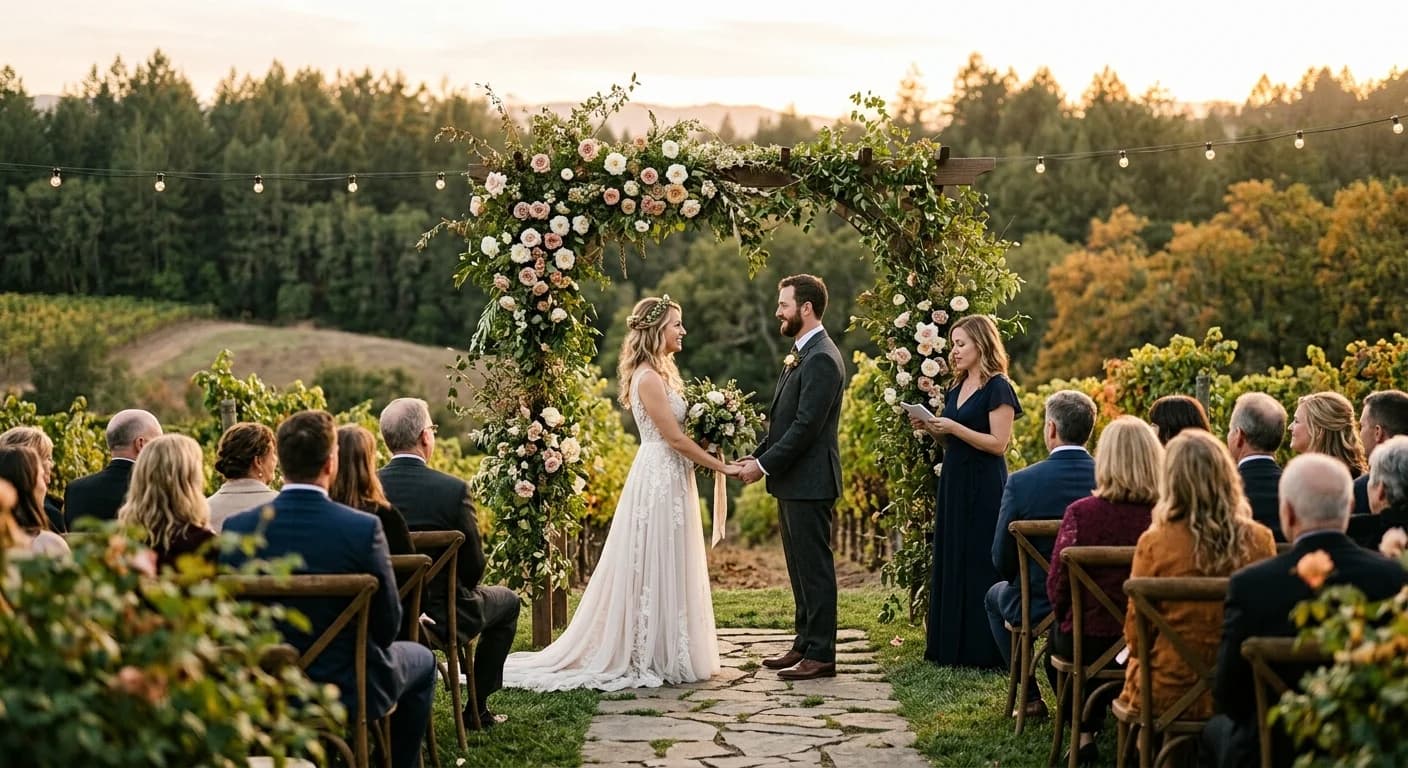
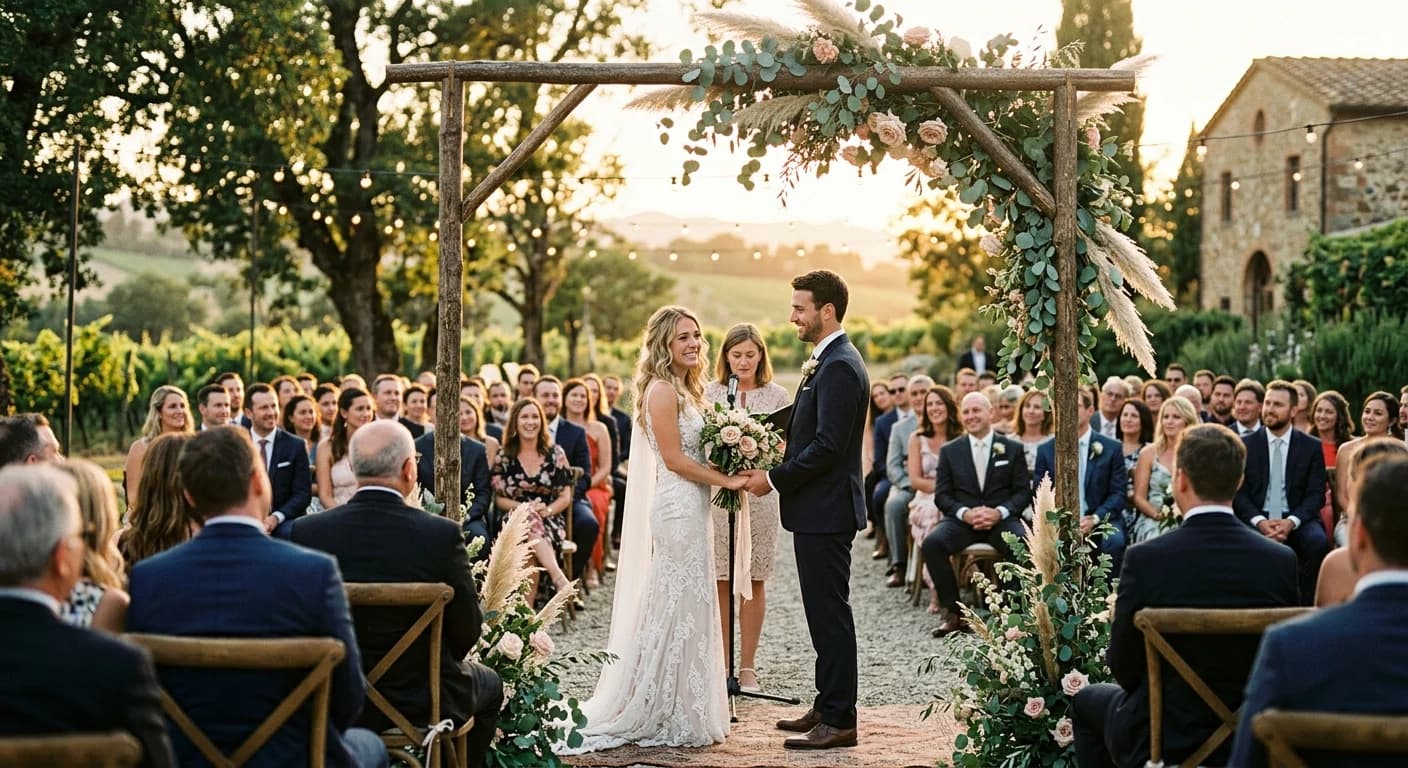
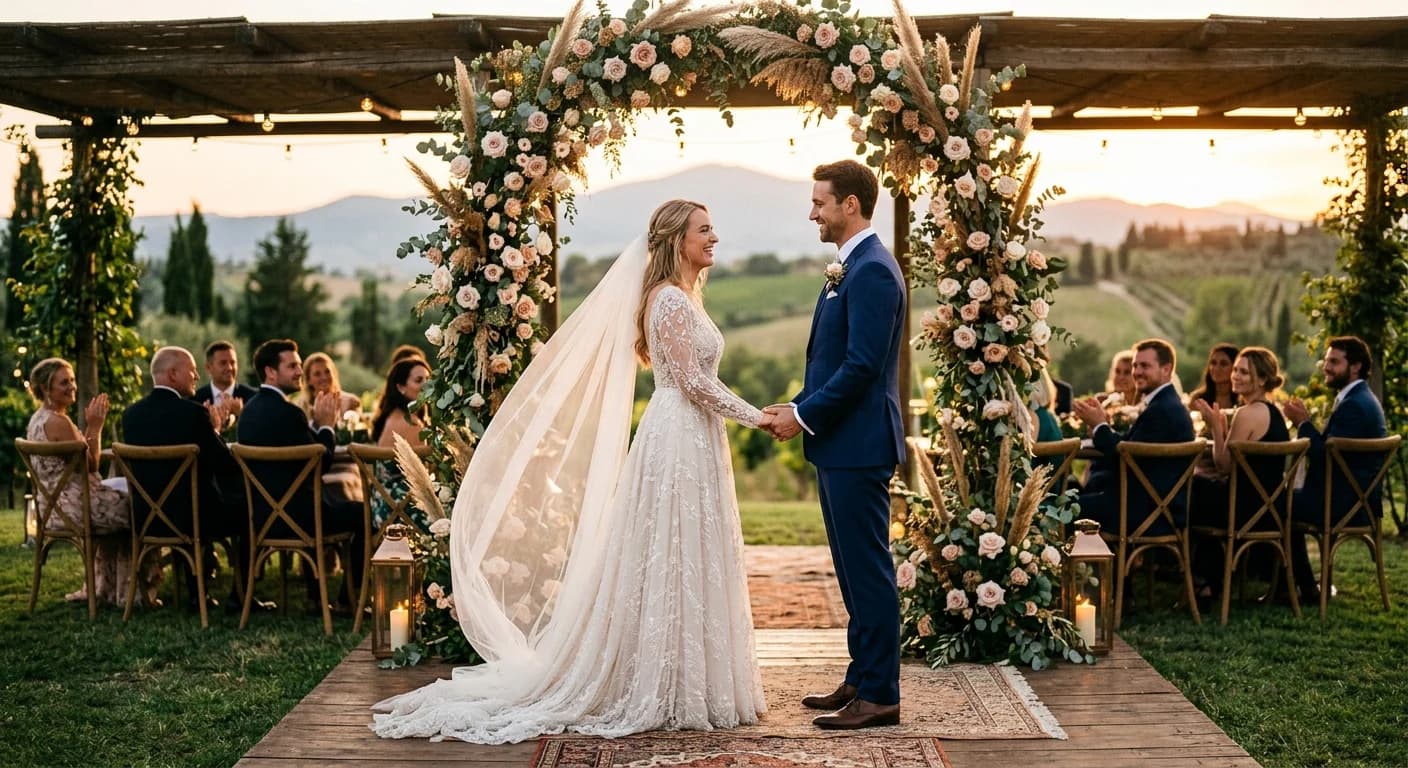
Capturing the magic of your Florida destination wedding goes beyond snapping photos. Real challenges begin when the images you receive don’t fully reflect the atmosphere, colors, or details you remember from your special day. Whether your camera struggled with sunlit beaches or missed the romantic glow of your evening reception, photo editing can make the difference between ordinary memories and stunning keepsakes. This guide unlocks actionable ways to transform your wedding photos using proven editing techniques. You’ll discover exactly how to enhance natural light, perfect colors, and reveal crisp details. Get ready to learn smart methods that turn your wedding pictures into timeless visual stories—so every moment looks as vivid as you felt.
Table of Contents
- 1. Adjust Exposure and Brightness for Natural Light
- 2. Enhance Colors to Reflect Wedding Mood
- 3. Sharpen Details for Crisp and Clear Images
- 4. Remove Unwanted Objects for Flawless Photos
- 5. Apply Softening Filters for Romantic Effects
- 6. Use AI Tools for Consistent Editing Styles
- 7. Export in High Resolution for Lasting Memories
Quick Summary
| Takeaway | Explanation |
|---|---|
| 1. Adjust Exposure Smartly | Use histograms to balance light, enhancing details in highlights and shadows for natural-looking photos. |
| 2. Enhance Colors for Mood | Adjust saturation and white balance to reflect the emotional tone of your wedding day, making images vibrant and appealing. |
| 3. Sharpen Details Carefully | Apply proper sharpening techniques to ensure clarity while avoiding artificial harshness, enhancing the beauty of intricate details. |
| 4. Remove Distractions Effectively | Utilize object removal tools to eliminate unwanted elements, allowing your main subjects to shine without distractions. |
| 5. Export High-Resolution Files | Always export images in high resolution to maintain quality for prints and long-term preservation, ensuring lasting memories. |
1. Adjust Exposure and Brightness for Natural Light
Your camera captures what it sees, but that doesn’t always match what you want. When you’re photographing your destination wedding in Florida’s bright sunlight or under the soft glow of sunset lighting, your camera’s automatic settings might not capture the mood you’re aiming for. This is where exposure adjustment enters the game. Think of exposure as the volume dial on your wedding photos. Too quiet (underexposed), and you lose detail in shadows and emotional depth. Too loud (overexposed), and your dress details blow out into a white haze. Getting this balance right during editing transforms a flat, lifeless image into one that feels alive and true to your memory.
Exposure works through what photographers call the exposure triangle, a relationship between aperture, shutter speed, and ISO. During your wedding day, your photographer captured images based on these settings. Now during post-processing, you have a second chance to refine what was captured. Using post-processing tools like Adobe Lightroom, you can shift the overall brightness or apply exposure compensation to preserve highlight and shadow detail. Maybe your outdoor ceremony shots need slightly more brightness to make the Florida landscape glow, or perhaps your indoor reception photos need careful shadow lifting to reveal your guests’ expressions without washing out the background. This is where you control the narrative. You’re not changing what happened. You’re revealing what the camera couldn’t quite capture in its raw form.
Here’s the practical reality: start by looking at your histogram, that mountain range graphic showing where your pixels live. If it’s bunched up on the left (dark), bring that exposure slider up. If it’s piled on the right (bright), pull it down. Don’t go crazy with the adjustments. Small, intentional moves usually look better than aggressive edits. You’ll want to preserve the natural feel that made your Florida destination wedding special in the first place. Watch how lifting shadows reveals your wedding party’s faces without turning the image into a blown-out mess. Watch how careful exposure reduction keeps your sky from looking like a white wall behind your first kiss photo.
Pro tip: Before making any exposure changes, use the shadow and highlight clipping indicators in your editing software to see exactly where you’re losing detail, then adjust your exposure incrementally until the clipping reduces without creating an artificial appearance.
2. Enhance Colors to Reflect Wedding Mood
Your wedding photos tell a story, and color is the language that story speaks. A Florida beach ceremony demands warm, sun-kissed tones that evoke joy and romance. An elegant ballroom reception calls for rich, sophisticated hues that whisper luxury. Yet straight out of your photographer’s camera, those colors might feel flat or disconnected from what you actually experienced. Color enhancement bridges that gap. By adjusting saturation, white balance, and other color properties during editing, you transform your images from ordinary captures into emotional narratives that match the mood you felt in that exact moment.
Color grading gives you control over the emotional temperature of your photos. When you enhance saturation, you’re not just making colors brighter. You’re amplifying the feeling. A ceremony photo with warm golden tones and boosted saturation feels romantic and intimate. The same photo with cooler tones and subdued saturation might feel moody and dramatic. White balance adjustments shift the overall color cast of your image. If your reception photos have an orange overhead light casting everything in an unflattering glow, you can cool that down to restore skin tones that look natural and flattering. Professional color grading techniques like split toning allow you to add different colors to shadows and highlights separately, creating depth and sophistication that makes your photos feel professionally edited. You might warm up the shadows to add romance while keeping highlights crisp and clean, or create a cohesive look across all your wedding images.
Start with white balance as your foundation. This single adjustment fixes so much. Then move to saturation, but use restraint. You’re enhancing reality, not creating a cartoon. A 15 to 25 percent saturation boost often feels right for wedding photos, making colors pop without looking artificial. Think about your wedding’s color palette and your personal style. Did you choose specific colors for your flowers, bridesmaid dresses, or décor? Those colors deserve to shine in your final images. Consider how your wedding color scheme looks in natural daylight versus indoor lighting, and adjust your editing to honor those choices. If you went with soft blush tones, gentle saturation increases will make them sing. If you chose bold jewel tones, more dramatic enhancement might feel authentic to your vision.
Pro tip: Create a consistent color grade for all your wedding photos by saving your best edits as presets or templates, then apply and fine-tune them across your entire collection to maintain a cohesive look throughout your visual story.
3. Sharpen Details for Crisp and Clear Images
Your wedding dress fabric has intricate lace details. Your groom’s boutonniere sits perfectly against his lapel. Your bride’s eyes sparkle with joy. These fine details deserve to be sharp and clear in your final images, not soft and fuzzy. Sharpening during editing brings out the definition in edges throughout your photos, transforming them from good to gallery-worthy. The trick is sharpening the right way. Oversharpening creates harsh halos and artificial looking images that scream amateur editing. Proper sharpening enhances reality without announcing itself.
Sharpening works by enhancing the contrast between edges in your image. When light meets dark, sharpening emphasizes that transition, making details pop. Advanced sharpening techniques like Unsharp Mask give you precision control through three settings. Amount controls how strong the sharpening is. Radius determines how wide the sharpening effect spreads. Threshold tells your software to ignore tiny details so you don’t sharpen noise and skin texture into an unnatural appearance. The beauty of this approach is applying sharpening in multiple light passes rather than one aggressive blast. Instead of one heavy dose that looks artificial, you apply gentle sharpening several times. This creates a crisp, natural look that feels professional. Before you sharpen anything, reduce noise in your images since sharpening intensifies noise, making grainy areas look worse. Always apply sharpening on a separate layer so you can control its intensity and avoid unintended color shifts that can happen when you sharpen directly on your original image.
Practically speaking, start with modest settings. Try an amount around 100 to 150 percent with a radius between 0.5 and 1.5 pixels. Check your results at 100 percent zoom on your screen. Those tiny lace details on your dress should look defined without looking etched. Your skin should look smooth, not plasticy. If your photo looks good at normal viewing size but harsh when zoomed in, you probably oversharpened. The goal is making details appear naturally crisp, not creating artificial definition. Your Florida destination wedding photos will be viewed mostly at regular sizes, so trust what they look like at that scale. Test your sharpening on a few different photos since every image might need slightly different amounts depending on how sharp it was to begin with.
Pro tip: Create a sharpening layer at around 30 to 50 percent opacity instead of full strength, then duplicate it two or three times if you need more sharpness, giving you perfect control over the final crispness without the risk of overdoing it.
4. Remove Unwanted Objects for Flawless Photos
Your perfect ceremony photo has one small problem. A guest’s head appears in the corner, partially blocking the view of your first kiss. Your reception shots show a random chair or cluttered background that distracts from the moment. These imperfections happen during every wedding, and they’re why object removal is one of your most powerful editing tools. With modern techniques, you can cleanly eliminate unwanted distractions without leaving traces behind, refocusing your viewer’s attention exactly where you want it. Whether you’re removing a photobomber, an errant decoration, or a trash can that snuck into your frame, the goal is the same: create flawless photos that tell your story without visual interruptions.
Object removal works through either traditional techniques or modern AI technology. Traditional methods use healing and cloning brushes, where you manually sample clean background areas and paint over unwanted objects, blending them seamlessly. This approach requires skill and patience but gives you precise control. Newer AI powered removal tools like Canva’s Magic Eraser analyze surrounding pixels and intelligently fill in removed areas with matching content, often completing the job in seconds rather than minutes. These AI based removal methods work remarkably well, especially when removing smaller objects or people from backgrounds with simple patterns like sky or walls. The technology learns what should be there and fills it in naturally. For complex backgrounds with lots of texture or detail, traditional methods might still give you better control, but the speed and ease of AI tools make them worth trying first.
Start by identifying what actually needs removal. That random guest in the background of your first kiss photo? Gone. Your mother-in-law’s purse at the edge of your first dance shot? Remove it. But before you start erasing, consider whether removing something changes the authenticity of your memory. If a loved one appears slightly out of focus in the background, that’s part of your real day. Remove obvious distractions that pull focus from your main subjects, but preserve the genuine reality of your wedding. Use AI tools for quick wins on obvious problems, then refine with manual techniques if needed. Test your removals at full size to make sure blending looks natural and not obviously edited. Your Florida destination wedding probably has some elements you can’t control, like beachgoers or unexpected items in the frame. Object removal gives you power over those elements in post-processing.
Pro tip: Start with AI removal tools for speed, but always zoom in to 100 percent to check for blending artifacts, and keep your original layer intact so you can blend your removal with the original at partial opacity if the result looks too perfect or artificial.
5. Apply Softening Filters for Romantic Effects
Romance lives in the details, but sometimes harsh light and sharp contrasts work against the mood you’re trying to capture. A softening filter is your secret weapon for adding that dreamy, timeless quality that makes wedding photos feel like they belong in a gallery rather than a snapshot. Softening doesn’t mean blurring everything into oblivion. It means strategically reducing harshness, smoothing skin tones, and creating an overall warm, inviting atmosphere that whispers emotion rather than shouts it. This technique transforms clinical clarity into something that feels intimate and romantic, perfectly complementing the feelings of your wedding day.
Softening effects work through gentle blurring and contrast reduction. Professional wedding editors use softening tools to create romantic atmospheres by strategically blurring backgrounds while keeping your main subjects sharp, or by applying a subtle overall softness that reduces the intensity of direct light. You can achieve this through several approaches. One method involves creating a duplicate layer, blurring it, then blending it back into your original at reduced opacity. Another uses dedicated softening filters within Lightroom or Photoshop that reduce harsh shadows and bright highlights simultaneously. Wedding photo softening effects enhance skin tones and create warm, inviting looks by balancing clarity with gentle diffusion. The key is balance. Too much softening and your photos look like you’re viewing them through gauze. Too little and you miss the romantic quality that makes wedding photos timeless.
Think about where softening matters most in your Florida destination wedding photos. Your portraits probably benefit from gentle softening that makes skin look luminous and smooth without losing all texture and realism. Your ceremony and reception photos might use softer overall processing that reduces harsh shadows from outdoor sun or indoor lighting. Start by applying a subtle amount and check your work at normal viewing size. A softening effect that looks perfect on your computer screen might feel overdone when printed or shared. Consider your skin tone carefully. Deeper skin tones sometimes need less aggressive softening to avoid looking washed out. Fair skin can handle slightly more softening before looking artificial. Use selective softening on separate layers or masks so you can soften backgrounds more aggressively than your subjects’ faces. Your guests’ expressions and your own features deserve clarity and definition, while a softly blurred background enhances rather than distracts from your main moment.
Pro tip: Apply softening at around 20 to 40 percent opacity on a separate layer, then paint it away from faces using a layer mask to keep fine details like eyes sharp while maintaining that romantic atmosphere everywhere else in the frame.
6. Use AI Tools for Consistent Editing Styles
Imagine editing your first 50 wedding photos with perfect consistency, then your AI system applies that same style to the remaining 450 photos in seconds. That’s the power of artificial intelligence in wedding photo editing. Consistency matters. When you flip through your wedding album, you want every photo to feel like it belongs together, not like some images were edited by one person and others by someone completely different. Manual editing makes consistency difficult. You’re constantly tweaking sliders, trying to remember what settings you used on the last photo, adjusting for different lighting conditions. AI tools eliminate this frustration by learning your style and applying it uniformly across your entire collection. This means less time in front of your computer and more time actually enjoying your memories.
AI powered editing tools work by analyzing your preferences and past edits to understand your unique style. Platforms like Imagen learn a photographer’s editing style and maintain consistency across thousands of images while speeding up processing dramatically. These systems examine exposure, color grading, saturation levels, and tonal adjustments you’ve made, then apply similar logic to new photos automatically. Modern AI tools streamline editing by automating repetitive tasks like exposure correction and offering targeted adjustments to maintain consistent styles across your entire wedding photo collection. The technology handles the heavy lifting of baseline adjustments, which typically consumes 70 percent of editing time. This frees you to focus on the creative decisions and fine tuning that make your photos truly yours. You’re not handing your photos to a robot that strips away personality. You’re partnering with a tool that handles mundane adjustments so you can concentrate on artistry.
For your Florida destination wedding photos, think about how AI fits into your workflow. Use AI tools to apply a baseline consistent style across all your images, then spend your manual editing time on individual photos that need special attention. Maybe your ceremony photos need slightly different white balance than your reception shots due to different lighting. AI handles the baseline correction, then you fine tune. Start by uploading a handful of your favorite edited wedding photos to AI platforms that learn from your style. Let the system analyze what makes those images appealing to you. Then apply those learned settings to your raw images and see how close the AI gets. You’ll probably find you need to adjust only 10 to 20 percent of images individually rather than editing every single one from scratch. This approach gives you the best of both worlds: the efficiency of automation and the control of manual editing.
Pro tip: Feed your AI learning system only your absolute best edited photos so it learns from your highest quality work, not from any experimental edits you might have later regretted.
7. Export in High Resolution for Lasting Memories
You’ve spent hours perfecting every detail of your wedding photos. You’ve adjusted exposure, enhanced colors, removed distractions, and applied the perfect romantic softening. Now comes a step that determines whether all that work survives in its full glory or gets compressed into mediocrity. Exporting at high resolution is what separates photos you’ll treasure forever from digital files that degrade over time. When you export properly, your images maintain their clarity and color accuracy whether you’re printing them for your living room wall, sharing them digitally with family, or creating a wedding album that will be handled and cherished for generations. Get this step wrong, and even perfect editing looks flat and lifeless.
Resolution matters tremendously. The standard for print quality is 300 pixels per inch (PPI), which ensures your photos look sharp and detailed whether they’re 4 by 6 inch prints or large format wall art. Digital displays typically show 72 to 96 PPI, but using 300 PPI for digital files future-proofs them for any purpose. File format affects quality and compatibility. JPEG files compress information, saving space but sacrificing some detail. TIFF files preserve all your editing work without compression, making them ideal for archival. Exporting high-resolution photos in Lightroom involves setting maximum quality with appropriate file formats and 300 PPI resolution while using color spaces like Adobe RGB or ProPhoto RGB for accurate color reproduction. Photoshop users should choose formats like TIFF or PNG, set resolution to 300 PPI, and use export functions with maximum quality settings to retain detail and color fidelity. Color space choices matter too. Adobe RGB and ProPhoto RGB contain more color information than standard RGB, meaning your prints will display richer, more accurate colors, especially important for the vibrant hues of flowers, dresses, and sunset skies from your destination wedding.
Here’s your practical approach. Before exporting, confirm your edited images are saved as your working files. Then create your export versions with intention. If you’re printing, always use 300 PPI in TIFF or high-quality JPEG format with color space set to Adobe RGB. If you’re storing digitally for long-term preservation, TIFF is your friend because it doesn’t compress your work. If you’re sharing digitally with family, you can use JPEG at 300 PPI, which balances quality with file size. Name your files descriptively so you can identify them months or years later. A file named “Wedding-2024-Ceremony-001-Final-300PPI.tif” tells you exactly what you’re looking at. Your Florida destination wedding deserves exports that honor the time, money, and emotion you invested. Those high-resolution files are your insurance policy that these memories will look stunning whether printed in five years or fifty.
Pro tip: Create two export versions of each final image: a high-resolution TIFF at 300 PPI for printing and archival, and a web-optimized JPEG for digital sharing, stored in separate folders so you never accidentally share compressed versions when you need the pristine originals.
Below is a comprehensive table summarizing key strategies and techniques for enhancing wedding photography as discussed in the article.
Category
Techniques
Tips
Adjusting Exposure
Balance natural light to highlight details
Use histograms to make precise adjustments
Enhancing Color
Modify saturation and white balance
Maintain authentic tones for mood clarity
Sharpening Details
Accentuate edges for crisp visuals
Apply moderate sharpening to avoid artifacts
Removing Distractions
Use tools for object removal
Preserve the realism of the scene
Applying Softening Filters
Introduce romantic atmospheres
Use selective softening for best results
Consistent Editing
Employ AI tools for unified edits
Refine automated edits for personal touch
High-Resolution Export
Optimize images for quality retention
Export in TIFF for archives and JPEG for sharing
Elevate Your Wedding Memories with Expert Editing and Photography
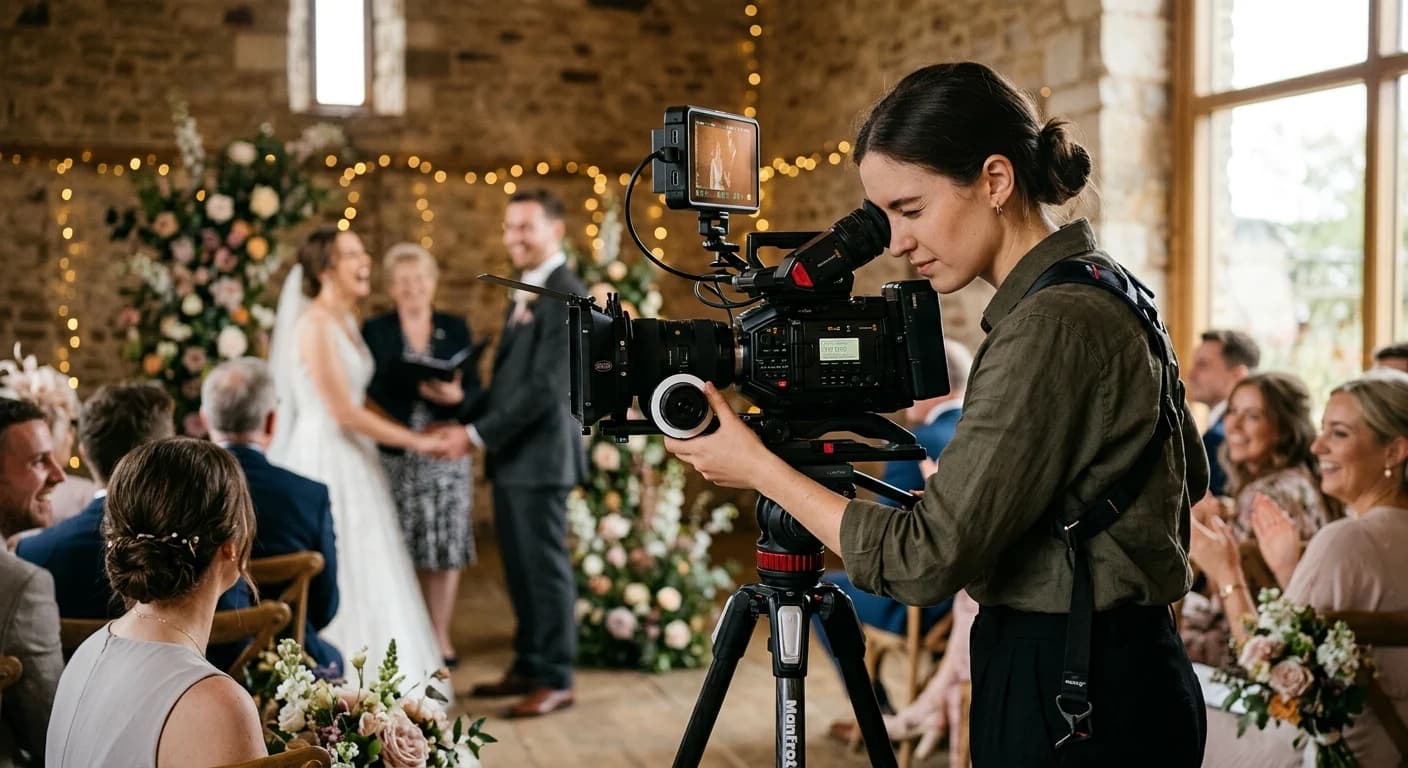
Capturing your Florida destination wedding beautifully is only the first step. As highlighted in the article “7 Essential Wedding Photo Editing Tips for Stunning Memories,” challenges like achieving perfect exposure, enhancing colors, sharpening details, and removing distractions can make or break your wedding photos. At Candid Studios, we understand these critical editing nuances and combine professional expertise with AI-driven technology to bring your wedding story to life with flawless clarity and emotion. Our tailored editing styles ensure your photos reflect the genuine romance and joy of your special day without losing authenticity.
Ready to transform your wedding photos into timeless treasures with expert editing and stunning videography? Discover how our award-winning team delivers consistent, high-quality results starting at $350/hr. Whether you plan a wedding in Colorado, Florida, or anywhere as a destination, we provide personalized consultations and include raw footage at no extra charge. Experience the ease of professional editing that respects your vision and preserves every detail. Visit Candid Studios to learn more about our wedding photography and videography services and take the first step toward unforgettable memories made perfect through expert editing and creative capture.
Frequently Asked Questions
How can I adjust exposure and brightness in my wedding photos?
To adjust exposure and brightness, use editing software to shift brightness levels until you achieve a natural look. Start by checking your histogram to identify if your image is too dark or too bright, then make incremental adjustments to preserve details in highlights and shadows.
What techniques can enhance the colors in my wedding photos?
Enhance colors by adjusting saturation and white balance to reflect the mood of your wedding day. Aim for a saturation boost of 15 to 25 percent for vibrant colors, ensuring that the hues resonate with the sentiments of your celebration.
How do I ensure my wedding photos are sharp and clear?
To sharpen your wedding photos effectively, use techniques like Unsharp Mask to enhance edges without creating an artificial look. Start with a setting of around 100 to 150 percent for sharpening while adjusting the radius and threshold, checking results at 100 percent zoom.
What methods can I use to remove unwanted objects from my wedding images?
You can remove unwanted objects using healing and cloning tools or modern AI-powered removal features. Identify distractions in your photos and use the appropriate method to clean them up, ensuring that you maintain the authenticity of the moment.
How can I apply softening filters for a romantic effect in my wedding photos?
Apply softening filters by creating a duplicate layer, blurring it slightly, and blending it back with reduced opacity. Start with a softening effect of around 20 to 40 percent to enhance the romantic qualities without losing clarity in crucial details like faces.
How do I export my edited wedding photos in high resolution?
Export your edited wedding photos at 300 pixels per inch (PPI) in TIFF format for best quality. Ensure you create two versions: a high-resolution file for printing and an optimized JPEG for digital sharing, so your cherished memories retain their clarity and vibrancy.