Your Guide to the Perfect Wedding Photo Timeline

So, what exactly is a wedding photo timeline? Think of it as the master plan for your day's photography. It’s a detailed schedule you'll create with your photographer, mapping out every photo-worthy moment from the time you start getting ready until the last song plays at the reception.
This isn't just a list of pictures; it's a strategic roadmap that ensures your entire day flows smoothly, letting you soak in every moment without worrying if the memories are being captured.
Why Your Wedding Photo Timeline Is a Game Changer
Let’s be real for a second. Nobody wants their wedding day to feel like one long, stressful photoshoot. You want to enjoy it! That’s where a well-thought-out photo timeline becomes your best friend. It’s not about being rigid or bossy; it’s the secret ingredient to a relaxed day that results in stunning photos.
Think of it less as a strict schedule and more as your guide to a seamless experience. While an ultimate wedding planning checklist timeline gives you the big picture, the photo timeline is a crucial piece of that puzzle, focusing specifically on preserving your memories.
The Power of a Plan
A solid timeline is what allows your photographer to capture those incredible candid shots while making sure you get all the essential portraits you'll cherish forever. More importantly, it gives you and your partner the freedom to actually be present and celebrate. The whole point is to capture the story of your day, not dictate it.
A great timeline really does it all:
- Kills the Stress: Everyone—from you to your parents to the wedding party—knows what's happening and when. No more frantic "what's next?" moments.
- Maximizes Your Photographer's Time: It puts your photographer in the right place at the right time, ready for every tear, laugh, and epic dance move.
- Guarantees the "Must-Have" Shots: You won't get your gallery back and realize you completely forgot to get a photo with your grandparents or your college friends.
- Protects Your Investment: You’ve invested a lot in your photography package. A good schedule is the best way to get the most out of every single hour.
A timeline doesn't just organize your photos—it organizes your peace of mind. By planning the flow of photography, you give yourself the freedom to live in the moment, confident that every memory is being captured.
This proactive approach is hands down the best way to ensure your final gallery tells the complete, beautiful story of your day. Of course, a great timeline needs a great photographer to bring it to life, which is why making the right choice is so important. For more on that, check out our guide on how to choose your wedding photographer to find the perfect match for your vision.
Gathering the Essentials for Your Photography Plan
Before we can start slotting photos into a timeline, we need to gather some critical information. Think of these as the cornerstones of your entire photography schedule. Without them, we're just spitballing, and that’s a recipe for stress on a day that should be anything but.
The first and most important piece of the puzzle is your ceremony start time. This is the anchor for the whole day. Everything else—from when you start hair and makeup to when you sit down for dinner—is planned around this one, immovable moment.
Just as crucial is knowing the exact sunset time for your wedding date and location. This isn't just about knowing when it gets dark; it's about nailing that coveted golden hour. That magical window of soft, warm light is what creates those breathtaking portraits, and it’s something we absolutely have to plan for.
Accounting for Logistics and Travel
One of the biggest timeline killers I’ve seen is not building in enough time for travel. Getting from your hotel to the ceremony and then to the reception venue almost always takes longer than you think. A good rule of thumb is to add a 15-20 minute buffer to whatever Google Maps tells you.
Remember that "travel time" isn't just the drive itself. It includes gathering everyone, loading into vehicles, and walking from the parking area to the actual venue entrance. Factoring this in prevents a frantic rush.
And don't forget the details! Items like your rings, invitations, and jewelry are part of the story. From a photographer's perspective, having these details ready helps us create beautiful flat lays and getting-ready shots without having to hunt them down. That includes everything from the dress to the final decision on choosing a wedding band. For more tips on getting all your items in order, check out our guide on how to prepare for a photoshoot.
Creating a Practical Shot List
Finally, let’s talk about your shot list. The goal here isn't to create an exhaustive list of every photo you can imagine, but to set clear priorities. A well-organized list helps us work efficiently and ensures we don't miss what matters most to you. I always recommend breaking it down into two simple categories.
- Must-Haves: These are your non-negotiables. Think immediate family portraits (parents, siblings, grandparents), the full wedding party, and key moments you've planned, like a first look.
- Nice-to-Haves: This is your bonus list. It might include a big group photo with all your college friends, a shot with your favorite cousins, or some fun, creative poses you’ve seen online.
By separating the list this way, you guarantee we capture the most important memories first. With your ceremony time, sunset schedule, travel logistics, and a prioritized shot list in hand, you’ve got a rock-solid foundation for a timeline that flows beautifully.
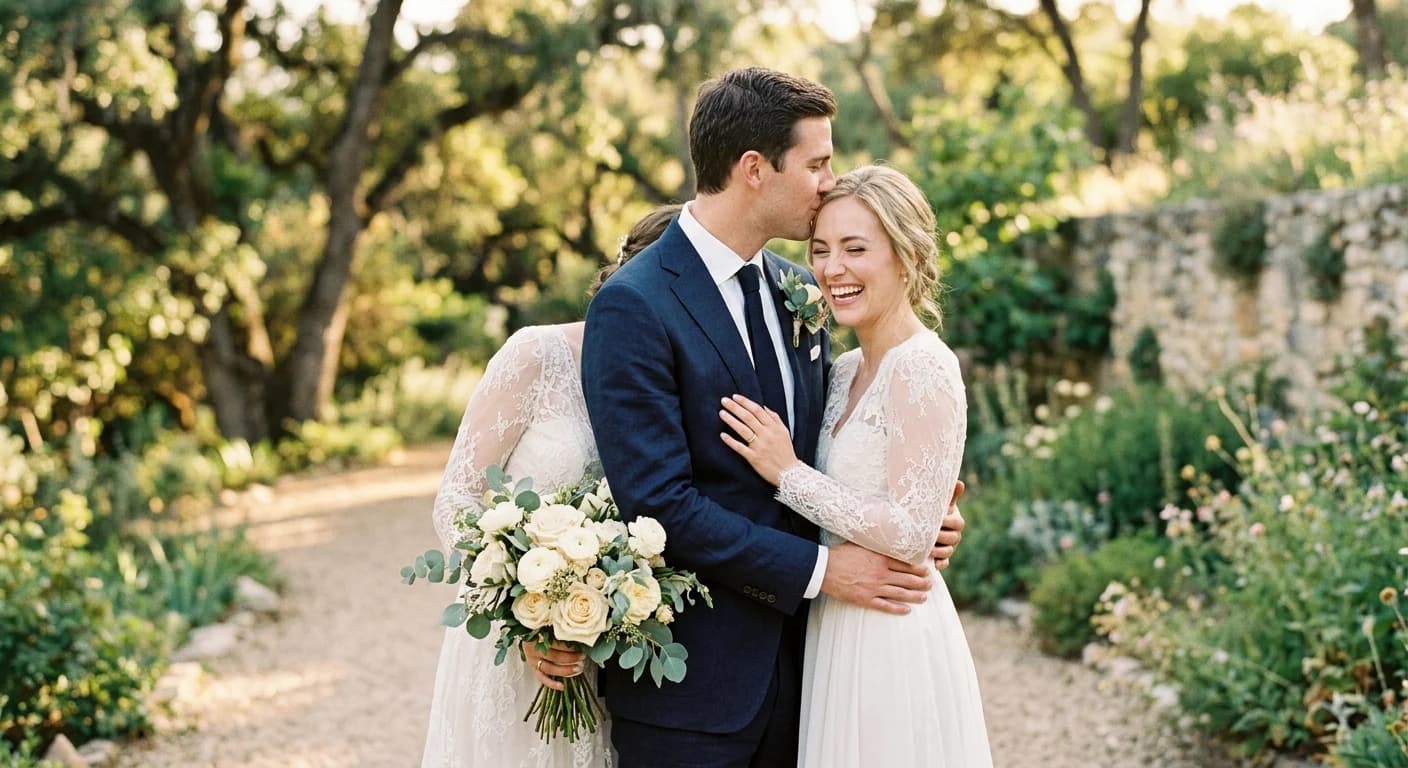
From Hair and Makeup to the First Look: Crafting Your Timeline
The morning of your wedding is an incredible blur of excitement, nerves, and happy tears. Your photography timeline is what safeguards these moments, turning that beautiful, chaotic energy into the first chapter of your wedding day story—long before you even think about walking down the aisle.
It all kicks off with hair and makeup, and this is the first place a schedule can go sideways. I’ve seen it happen time and again: underestimating how long it truly takes. A pro stylist often needs 45-60 minutes per bridesmaid and can easily spend up to 90 minutes on the bride. Talk to your artists, get their expert timing, and then add a 30-minute buffer. Seriously. If they finish early, amazing—more time for candid shots and mimosas. If they run late, you won't feel that frantic pressure.
Timing Your Getting-Ready Photos
So, when should your photographer show up? I always recommend having us arrive about an hour before you plan to step into your dress. This gives us plenty of time to capture all the gorgeous details without getting underfoot.
These are the little things that set the stage for your entire day:
- The Dress: We’ll find the perfect spot, maybe hanging near a window with soft light pouring in.
- The Rings: Your engagement ring sparkling next to both wedding bands.
- Stationery: The full invitation suite tells a piece of your story before it even begins.
- Accessories: Shoes, jewelry, your veil, or that special family heirloom.
After the details are documented, we can shift our focus to the human moments: the laughter with your wedding party, the final touch-ups, a quiet moment with your mom. All in all, you'll want to plan for about 60-90 minutes of photography coverage for this part of the day.
Pro Tip: Designate one corner of your getting-ready room as a "photo-ready zone," preferably near a window. Keep it tidy! This gives your photographer a clean, beautifully lit backdrop for those key shots of you getting into your dress or sharing a hug with your parents, saving us from having to spend precious minutes tidying up.
The First Look: The Emotional Peak of the Morning
Once the buzz of getting ready winds down, the first look offers a pocket of calm and intimacy for just the two of you. This is often one of the most powerful and emotional moments of the entire day, and the last thing you want to do is rush it.
Give this moment the space it deserves—plan for a solid 30 minutes. This isn't just for the photos; it's for the experience. It covers the walk-up, the big reveal, and the raw, beautiful portraits that happen in the seconds that follow. It’s your chance to breathe together before the whirlwind of the ceremony starts. Planning this moment well is everything, and you can find more inspiration for creating truly memorable first look photos to make it perfect.
Don't forget the logistics. If you're in separate locations, communication and travel are your biggest hurdles. Always factor in travel time for your photographer between spots, and just like with everything else, add a buffer. A well-built pre-ceremony timeline does more than just get you better photos; it sets a relaxed, joyful tone for the entire day, letting you soak in every single second.
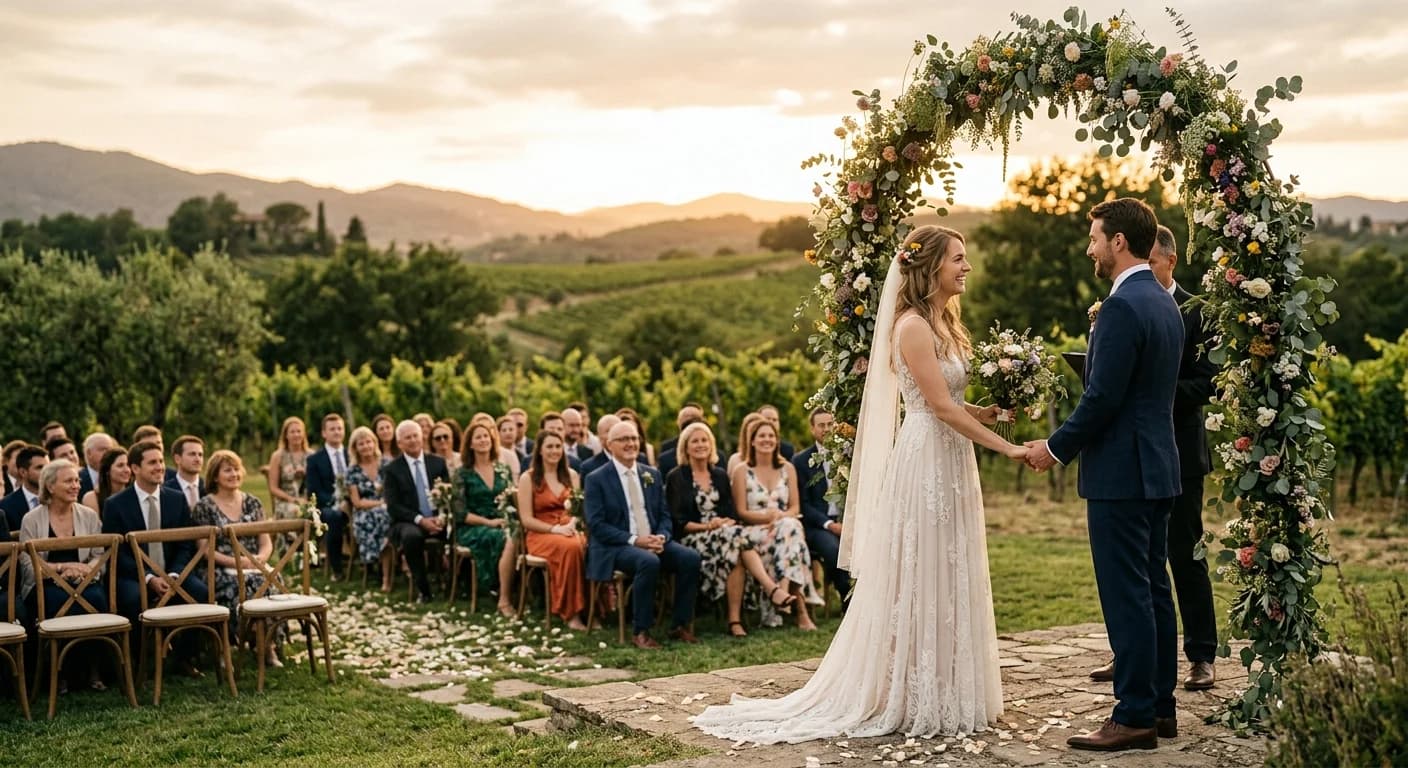
Scheduling Your Ceremony, Portraits, and Family Photos
This is where the rubber meets the road. The core of your wedding day timeline is built around these huge moments: the ceremony, family pictures, wedding party shenanigans, and those quiet, romantic photos of just the two of you. Getting this part right is the secret to a day that feels relaxed and joyful, not like a frantic race against the clock.
The first big question you need to answer is whether to see each other before or after the ceremony.
Deciding to do a "first look" is a popular choice for a reason. It lets you get almost all your formal portraits—wedding party and immediate family included—checked off the list before the first guest even finds their seat. The upside? You actually get to go to your own cocktail hour. The downside? It means an earlier start to an already long day.
On the other hand, sticking with tradition and having that big reveal at the aisle is incredibly romantic. It just means all those portraits have to happen during the cocktail hour. It's totally doable, but it demands military-grade organization to pull off without you missing the entire party. There’s no right answer here, just the one that fits the vibe you want for your day.
Each part of the day needs its own time slot, creating a domino effect where one delay can throw everything off.
As you can see, planning for moments like a first look early on prevents a major time crunch later.
The Great Debate: Before Or After The Ceremony?
Honestly, opting for a first look is a game-changer for the schedule. By seeing each other before the ceremony, we can knock out a huge chunk of the formal photos while your hair and makeup are pristine.
A typical pre-ceremony photo flow looks something like this:
- First Look & Couple's Portraits: After that private, emotional moment, we’ll dive right into photos of the two of you.
- Wedding Party Photos: Next, we’ll bring in your bridesmaids and groomsmen for all the fun group shots.
- Immediate Family: Finally, we’ll get the essential photos with parents, siblings, and grandparents out of the way.
Following this sequence means that as soon as you’re officially married, you’re free! You can head straight to cocktail hour, grab a signature drink, and mingle with your favorite people.
Nailing Your Family Photos Efficiently
Family photos can be the most chaotic part of the day, but they don't have to be. The secret weapon here is simple: preparation. A super-specific, organized list is the key to keeping this session short, sweet, and painless.
Don't just write "family photos" on your timeline. You need to create a detailed list of every single combination you want. For a deep dive into which groupings to prioritize, you should check out our guide on the essential wedding picture list. This detailed shot list allows your photographer to efficiently call out names and move from one group to the next without any confusion.
Pro Tip: Designate a "family wrangler"—a sibling, cousin, or friend with a loud voice who knows everyone. Their job is to be on deck, gathering the next group on the list so they're ready to go. This one little trick keeps us from having to hunt down Uncle Bob at the bar and can seriously cut your family photo time in half.
To help you visualize how this all comes together, here's a sample timeline based on a standard 8-hour photography package for a wedding with a 5:00 PM ceremony.
Sample Wedding Photo Timeline Breakdown (8-Hour Coverage)
This table illustrates a common flow for a wedding day, allocating specific time blocks to each major event. It's a great starting point for building your own custom schedule.
Time Slot
Activity
Duration
Key Notes
2:00 PM
Photographer Arrives / Detail Shots
45 min
Capturing rings, dress, invitations, etc.
2:45 PM
Final Getting Ready Photos
45 min
Zipping up the dress, putting on jewelry, candids.
3:30 PM
First Look & Couple's Portraits
45 min
Private moment, followed by romantic portraits.
4:15 PM
Wedding Party & Family Photos
30 min
Immediate family & full wedding party shots.
4:45 PM
Pre-Ceremony Downtime
15 min
Couple hides away as guests arrive.
5:00 PM
Ceremony Begins
30 min
The main event!
5:30 PM
Cocktail Hour / Sunset Photos
60 min
Guests mingle; couple takes "just married" photos.
6:30 PM
Grand Entrance & Reception Begins
Varies
Toasts, dinner, and first dances.
10:00 PM
Photography Coverage Ends
–
Photographer departs after key reception events.
Remember, this is just a template! Your day might look different based on travel between locations, the size of your family, or unique traditions you've planned.
Using Cocktail Hour To Your Advantage
Think of your cocktail hour as prime real estate for photos, especially if you skip the first look. As a rule of thumb, we suggest setting aside 60–90 minutes for all your portraits—that includes couple, wedding party, and family photos. Cocktail hour is the perfect built-in time slot to get this done.
But if you did do a first look, then cocktail hour becomes a fantastic bonus round. Instead of rushing through a long list of formal portraits, you can use this time to grab a few stunning "golden hour" photos as the sun sets. The light is absolutely magical. This approach gives you the best of both worlds: incredible photos and more time to celebrate with your guests.
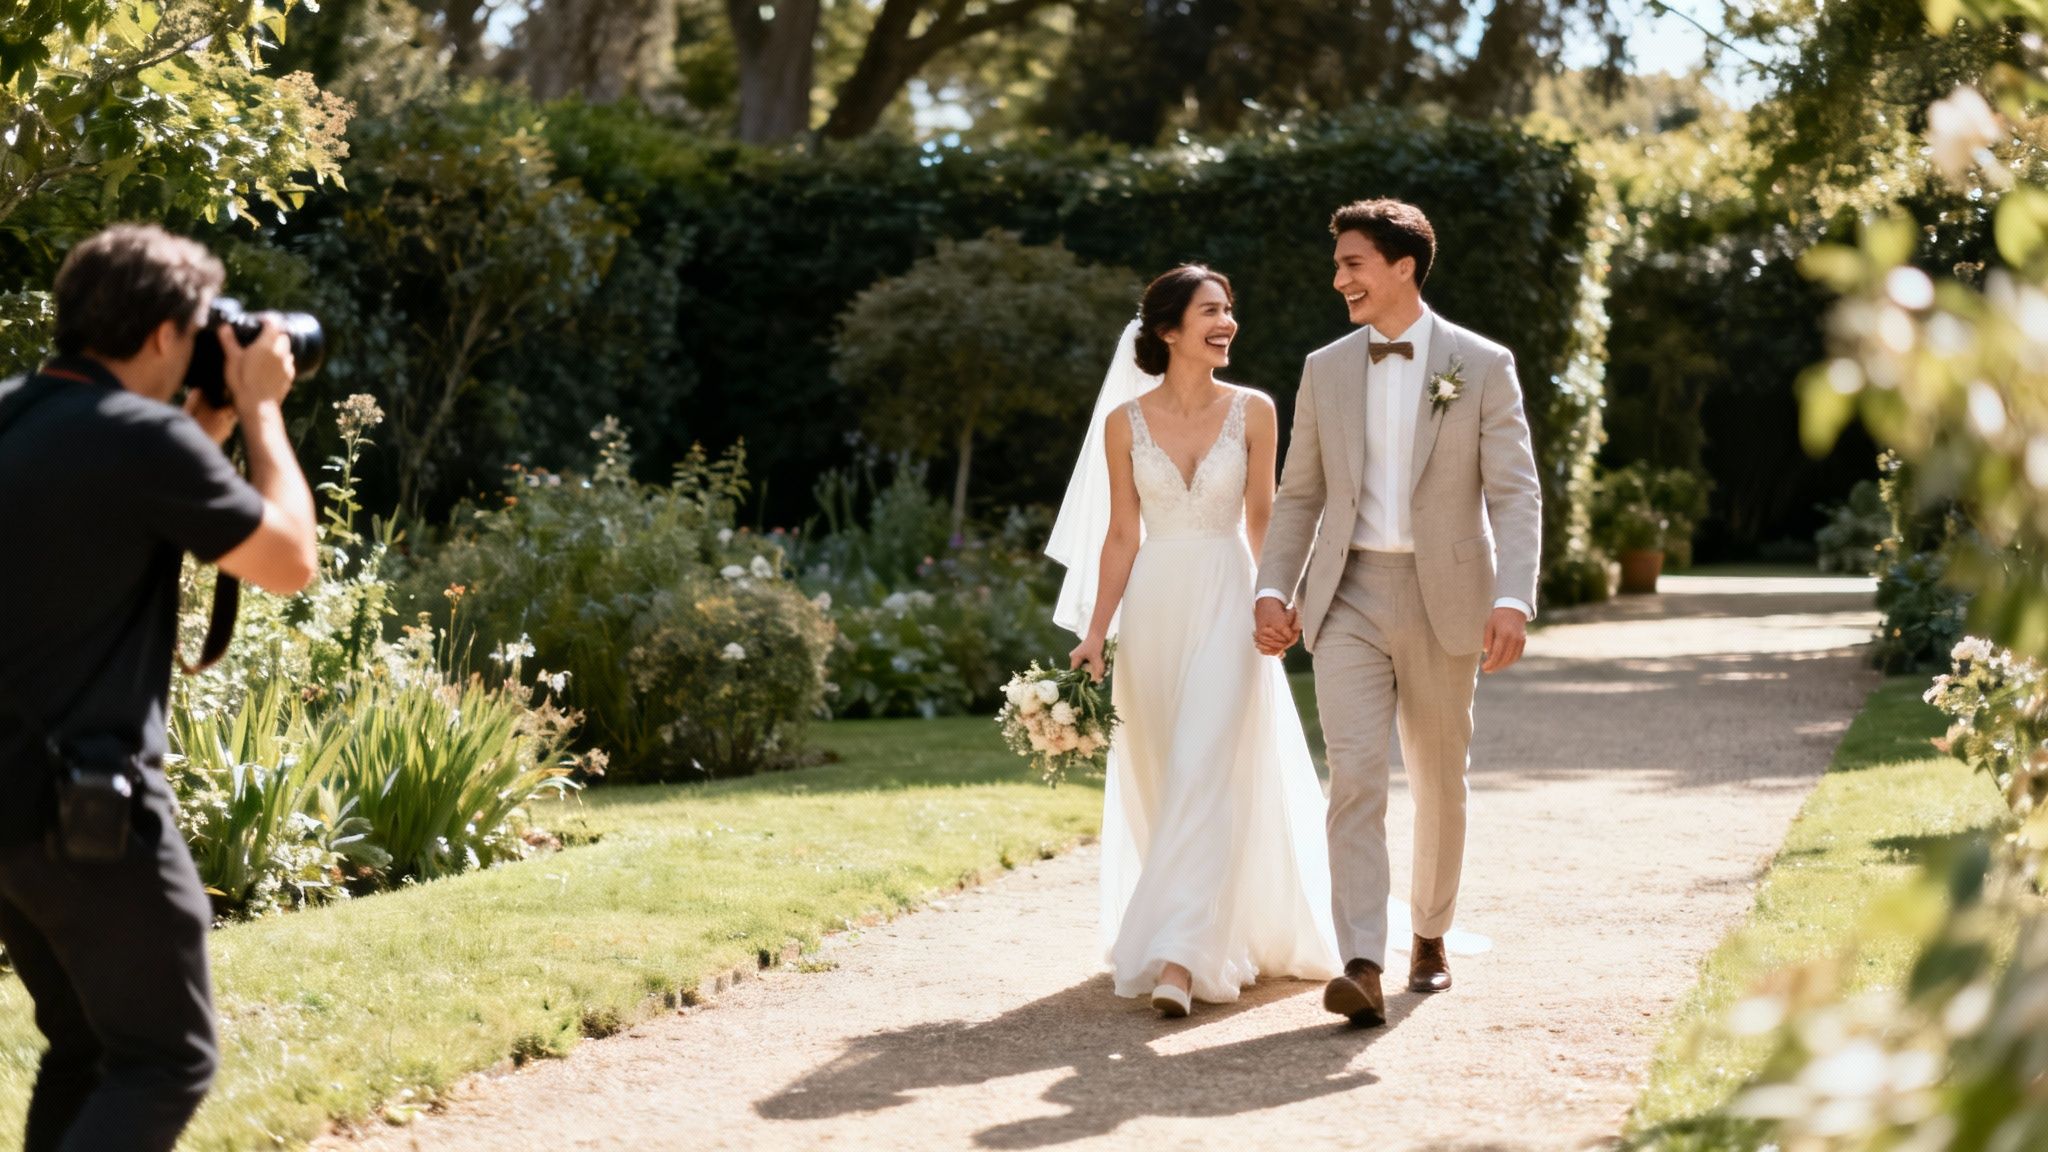
Capturing the Party: Your Reception Photography Guide
The I dos are done, the family photos are squared away, and now it’s time to celebrate. But for your photographer, the work is just getting started! The reception is where the magic really happens—the unscripted laughs, the emotional speeches, and the wild dance moves. A solid game plan is what lets us capture all that energy without missing a single important moment.
The secret weapon here isn't a special lens; it's communication. Before the wedding day, I always make sure to connect with the DJ, band leader, or wedding planner. This little bit of teamwork is crucial. It means that when the DJ is about to announce your grand entrance or the toasts, they give us a quick nod. That heads-up ensures we're in the perfect spot with the right gear, ready to go.
Timing Your Key Reception Moments
Every reception has its own rhythm, usually built around a handful of big events. The key is to space them out just right, keeping the momentum going while giving everyone plenty of time to eat, chat, and hit the dance floor. You want to avoid those awkward lulls where guests are just sitting around wondering what’s next.
While every party is different, most follow a pretty logical flow. Here’s a sequence that I’ve found works really well:
- Grand Entrance: This is the official kickoff! It sets the tone for the entire night.
- First Dance: I love when couples do this right after their entrance. The energy is high, and all eyes are already on you.
- Dinner Service: Time to let everyone relax and enjoy the amazing food you picked out.
- Toasts & Speeches: These fit perfectly between dinner courses or right after the main course is served.
- Parent Dances: A sweet, sentimental moment that serves as a beautiful transition to opening the dance floor for everyone.
- Cake Cutting: This classic event usually signals that the formal part of the evening is winding down and the real party is about to begin.
Following this kind of order helps us tell the story of your night chronologically and beautifully. For a deeper dive into structuring the evening, our wedding reception timeline template can give you a fantastic starting point.
My biggest piece of advice: Try to front-load all your major events—the cake cutting, special dances, bouquet toss—so they happen comfortably within your photographer’s paid time. It’s so much more cost-effective to cut the cake an hour earlier than to pay for an extra hour of coverage just for that one five-minute event. Trust me, 45-60 minutes of open dancing gives us more than enough time to get tons of fantastic party photos.
Stepping Out for Sunset or Night Portraits
Don't think the portrait session is over just because the party has started. Some of the most breathtaking and artistic photos of the entire day can be created by sneaking away for just 10-15 minutes as the sun goes down or after dark.
Timing is everything. The perfect window is usually right after you’ve finished your dinner. Most of your guests will still be eating or starting to mingle, so you won’t be missed. That "golden hour" light is pure magic, and nighttime opens up a world of creative, dramatic lighting possibilities. I’ll keep an eye on the clock and the sky, and when the moment is just right, I’ll quietly pull you aside. It’s a great chance for you two to catch your breath and results in photos that will absolutely blow you away.
How to Adapt Your Timeline for Any Wedding Style
There's no such thing as a one-size-fits-all wedding photo timeline. A schedule that works for a 200-guest ballroom reception would be completely wrong for an intimate mountain elopement, and that’s how it should be. The secret to a successful timeline is making it your own, ensuring the schedule serves your celebration, not the other way around.
Your wedding's style really sets the pace and focus for the entire day. It’s all about taking those core principles—planning for key moments, working with the best light, and building in buffers—and applying them to a structure that feels right for your day.
Tailoring for Micro-Weddings and Elopements
For smaller, more intimate celebrations, the timeline gets wonderfully condensed. The focus shifts from wrangling large groups to capturing the raw, personal moments that make these events so incredibly special. You can often flow seamlessly from getting ready, to a first look, the ceremony, and portraits in a much shorter, more fluid timeframe.
This streamlined approach usually means you don't need as much photography coverage. It's common for micro-weddings and elopements to only require 3–5 hours of photography. That's a huge difference from destination weddings, which often involve photographers for multiple days. You can find more insights on what's happening across the photography industry on Zenfolio.com.
The real beauty of a smaller wedding is flexibility. Your timeline is less about hitting exact minute marks and more about capturing the organic, relaxed flow of a day spent with your absolute favorite people.
Planning for Destination Weddings
Destination weddings bring a whole new, exciting dimension to your photography plan. The timeline often stretches beyond a single day to capture the full experience of being in a unique, amazing location. This might mean scheduling your photographer for other events, which adds incredible depth and storytelling to your final gallery.
Think about including coverage for moments like these:
- Welcome Party: Capturing those casual, happy reunions as guests arrive.
- Rehearsal Dinner: Documenting heartfelt toasts and precious family moments.
- Day-After Brunch: A relaxed farewell that wraps up the weekend's story perfectly.
When you're building a multi-day timeline, clear communication with your photographer is everything. Let them know which events are the most important to you. The goal is to tell the complete story of your wedding adventure, from the moment guests land to the final goodbye. It just goes to show that a great timeline is your most powerful tool, no matter what your wedding looks like.