Product Photography Lighting Setup Guide

In the competitive world of e-commerce, the difference between a scroll-past and a sale often comes down to one critical factor: light. Mastering your product photography lighting setup is the single most effective way to transform ordinary items into covetable visual assets. Whether you are a small business owner looking to save on marketing costs or an aspiring photographer refining your craft, understanding how to manipulate light is non-negotiable. This comprehensive guide will walk you through everything from the fundamental physics of light to advanced product photography lighting setup strategies used by professionals.
Understanding the Importance of Proper Lighting
Before diving into gear, it is essential to understand why lighting matters. Light defines texture, reveals color accuracy, and creates the mood of your brand. Poor lighting results in noisy images (grain), distracting shadows, and colors that don’t match reality. A solid product photography lighting setup ensures that the product is the hero of the image.
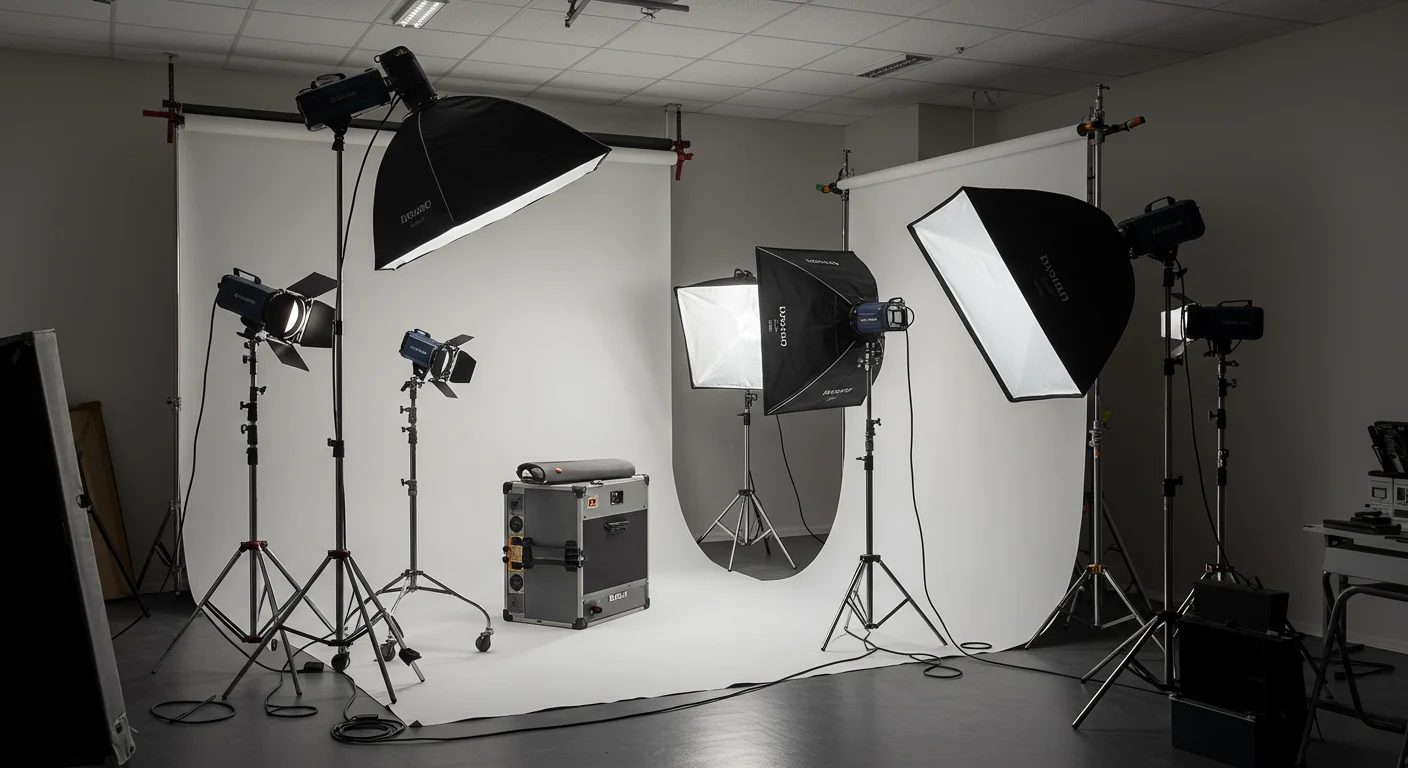
Product photography lighting setup example 1
Key Lighting Terminology
To follow this product photography lighting setup guide, you must understand three core concepts:
- Key Light: This is your main light source. It provides the primary illumination and defines the shape of the product.
- Fill Light: This light softens the shadows created by the key light. It is usually less powerful or placed further away.
- Back Light (Rim Light): Positioned behind the product, this light separates the item from the background, adding depth and dimension.
Watch: product photography lighting setup tutorial video
Essential Gear for Your Setup
You do not need a fortune to build a professional product photography lighting setup. However, investing in the right tools makes the job significantly easier.
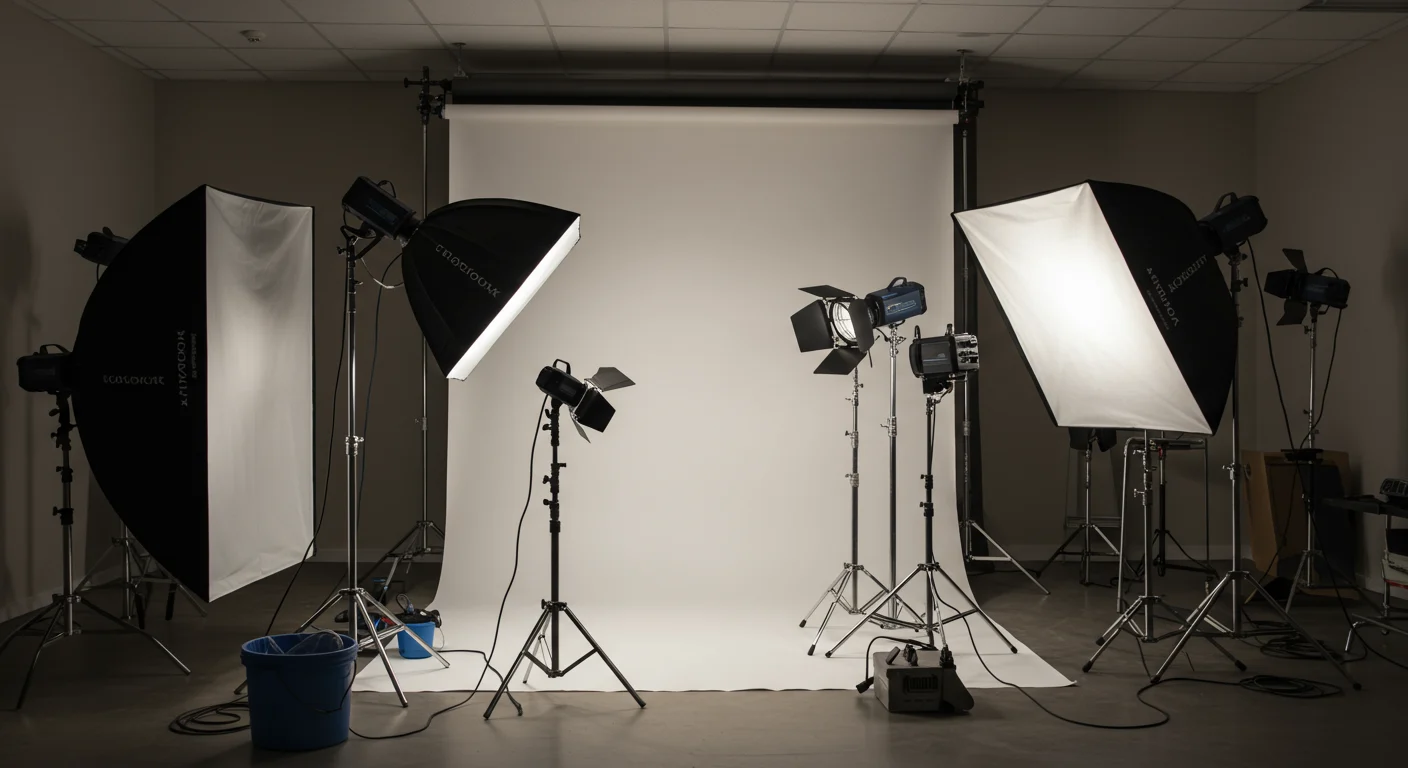
Product photography lighting setup example 2
1. Light Sources
There are two main types of lights used in product photography:
- Continuous Lighting: These lights stay on (like video lights or softboxes). They are excellent for product photography lighting setup for beginners because you can see exactly how the light hits the product in real-time. LED panels are popular because they stay cool and offer adjustable color temperature.
- Strobe Lighting (Flash): These emit a burst of light when the shutter is triggered. They offer high power and are perfect for freezing motion or shooting at narrow apertures. However, the learning curve is steeper as you cannot see the effect until you take a test shot.
2. Modifiers
Bare bulbs often create harsh, unflattering shadows. Modifiers are essential for product photography lighting setup best practices.
- Softboxes: These diffuse light, creating a soft, even glow that wraps around the product. They are the industry standard for most e-commerce shots.
- Umbrellas: A budget-friendly option for spreading light, though they offer less control than softboxes.
- Grids/Honeycombs: These attach to softboxes to narrow the beam of light, controlling spill and adding drama.
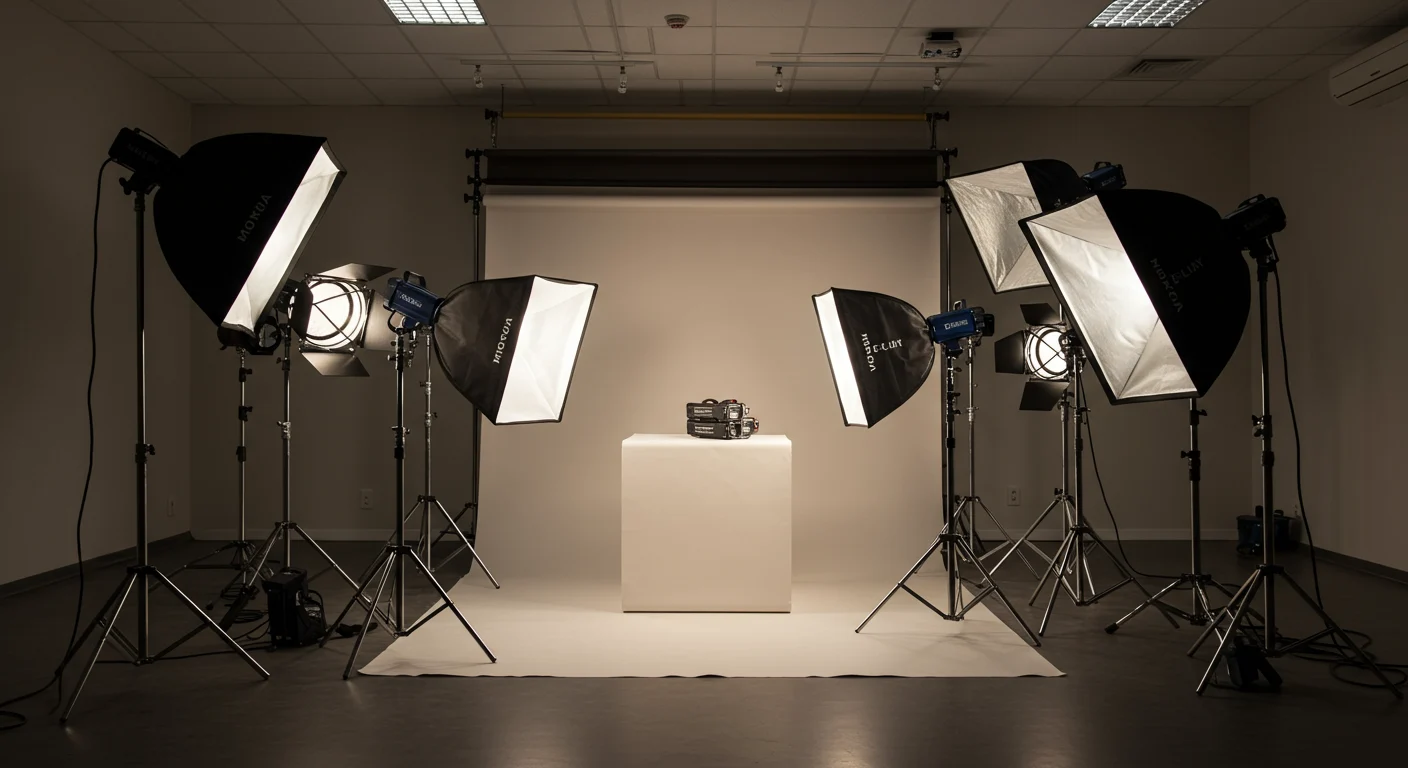
Product photography lighting setup example 3
3. Backgrounds and Surfaces
Keep it simple. A seamless sweep of white paper or vinyl is the standard for Amazon and Google Shopping compliance. For lifestyle shots, wooden textures or colored fabrics can add context.
Step-by-Step Setup Strategies
Now, let’s assemble your product photography lighting setup. We will focus on the classic “Three-Point Lighting” technique, which is the foundation of professional studio work.
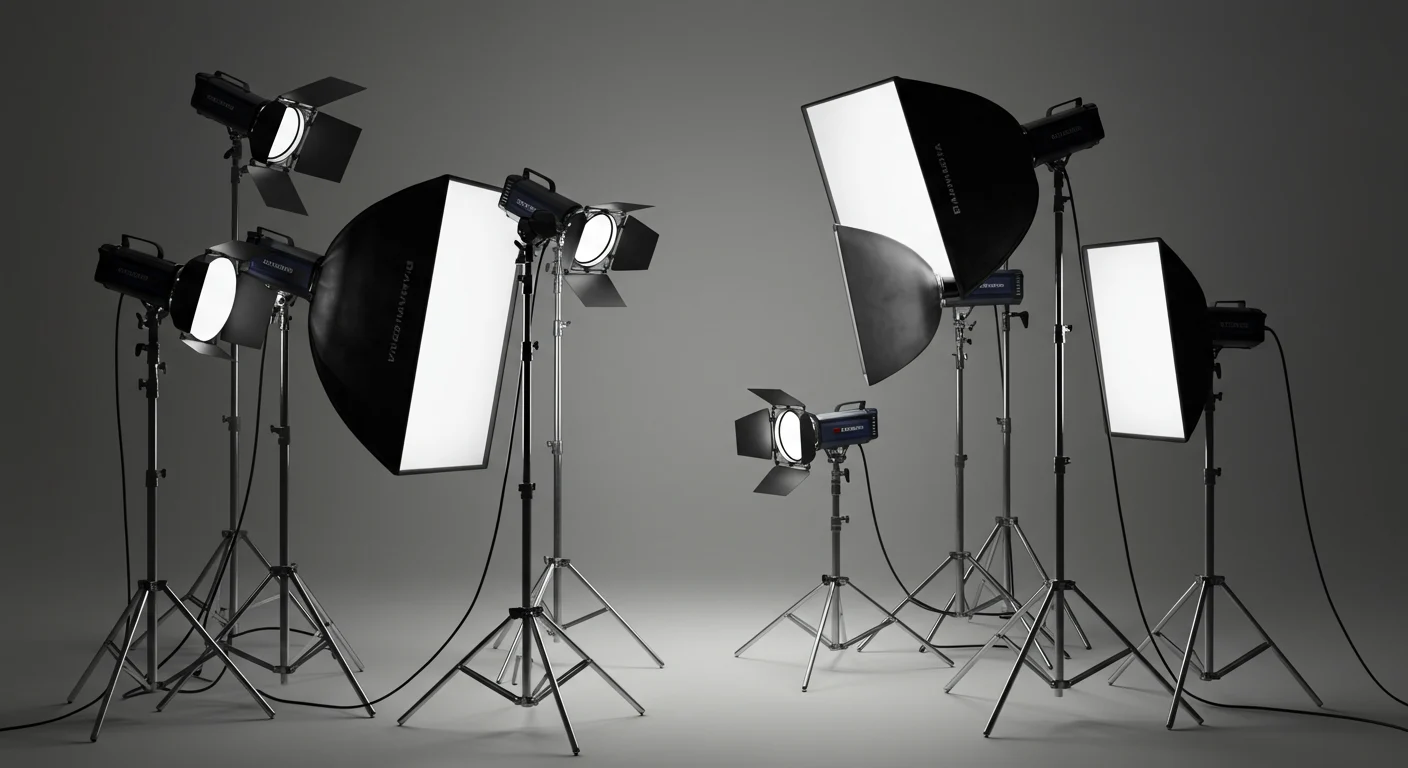
Product photography lighting setup example 4
1. Positioning the Key Light
Place your main light (the key light) at a 45-degree angle to the product. This angle creates shadows that reveal texture and depth.
- Tip: If you want a “high-key” bright look, move the light closer to the camera. For a “low-key” dramatic look, move it further to the side.
2. Adding the Fill Light
Place your second light on the opposite side of the camera. The goal here is not to eliminate shadows entirely but to soften them so detail isn’t lost in the dark areas.
- Strategy: Use a reflector (white foam board) instead of a second light for a more natural look. This is one of the most cost-effective product photography lighting setup tips available.
3. The Back Light
Place a light behind the product, pointing toward the camera (but flagged so it doesn’t lens flare). This creates a rim of light that separates the product from the background.
Advanced Techniques and Troubleshooting
Once you have mastered the basics, you can experiment with more complex product photography lighting setup strategies.
Using Tents and Cubes
Light tents are excellent for highly reflective objects like glass or chrome. They surround the product in white diffusion material, eliminating harsh reflections. However, they can make the image look flat if not lit correctly from the outside.
Managing Reflections
For shiny products (jewelry, electronics), your product photography lighting setup must include tactics to control what reflects on the surface.
- The Black Card Trick: Place a black card opposite your key light to create a dark “reflection line” that defines the edge of a shiny bottle or watch.
- Polarization: Using polarizing filters on your lens and lights can eliminate glare on non-metallic surfaces like water or glass.
Product Photography Lighting Setup Best Practices
To ensure consistent results, adhere to these product photography lighting setup best practices:
- White Balance: Always set a custom white balance. Auto white balance can be tricked by colored products, resulting in strange tints. Use a grey card for precision.
- Stabilization: Use a tripod. Even with fast shutter speeds, a tripod ensures your composition remains perfectly consistent across hundreds of shots.
- Histogram Check: Don’t trust your camera’s LCD screen. Use the histogram to ensure you aren’t clipping highlights (losing detail in white areas) or crushing shadows.
A Guide for Different Product Types
Not all products require the same approach. Here is a specific product photography lighting setup guide for different categories:
For Apparel (Fashion)
Fashion requires light that brings out fabric texture without being harsh. A large overhead softbox (butterfly lighting) works well to create flattering shadows under the nose and chin if using models, or to evenly light garments laid flat.
For Jewelry
Jewelry is difficult due to its size and reflectivity. Use macro lenses and small light modifiers. LED light boxes with adjustable brightness are often the best product photography lighting setup for beginners in this niche.
For Food and Drink
Food photography often uses “backlighting.” Place the light behind the food to make steam rise and liquids glow, making the food look fresh and appetizing.
Conclusion
Mastering light is an art form that takes time, but understanding the mechanics of a product photography lighting setup is a science you can learn today. By starting with continuous lights and a softbox, and gradually incorporating fill lights and reflectors, you will see an immediate improvement in your image quality. Remember, the best setup is the one that accurately represents your product and aligns with your brand’s aesthetic. Experiment with angles, modifiers, and power levels until you find the perfect formula for your specific needs.
Frequently Asked Questions
Q: What is the best lighting for product photography?
A: The best lighting depends on the product, but continuous LED softboxes are generally considered the top choice for product photography lighting setup for beginners because they allow you to see shadows in real-time and are easy to adjust.
Q: How many lights do I need for product photography?
A: While you can start with one light and a reflector, a professional product photography lighting setup typically utilizes a three-point system with a key light, fill light, and back light to fully control dimension and contrast.
Q: How do I set up lighting for product photography at home?
A: You can create a DIY setup using a large window as a natural light source, white poster board for fill, and a simple tabletop. This is a cost-effective strategy that mimics professional product photography lighting setup tips.
Q: Should I use continuous light or flash for product photography?
A: Continuous light is often preferred for stationary products because it simplifies the workflow, whereas flash (strobe) is better for capturing extremely fast motion or shooting with high f-stops, though it requires more complex product photography lighting setup strategies.
Q: How do you avoid reflections in product photography?
A: To avoid reflections, use a light tent or position your lights at a 45-degree angle rather than directly at the reflective surface. Using a polarizing filter on your lens is also one of the most effective product photography lighting setup best practices for reducing glare.
Contact Candid Studios today to learn more about how we can help your business.