A Photographer's Guide on How to Fix Overexposed Photos
We’ve all been there. You nail the perfect shot—the composition is killer, the moment is genuine—but back on your computer, you see it: blown-out highlights and washed-out details. That sinking feeling is familiar to every photographer, but don't drag that file to the trash just yet.
Most overexposed images can be saved, or at least dramatically improved. It all starts with a quick, honest assessment to see what you’re working with.
The Initial Triage: Your First Steps to Photo Recovery
Before you touch a single slider, you need to play detective. The goal is to figure out just how much data has been lost and whether the photo has enough information left to be worth saving.
Your best tool for this job is the histogram. Think of it as an X-ray of your photo's brightness levels. You'll find it in your camera and in any decent editing software. If you see a huge spike slammed up against the far-right edge of the graph, you've got "clipped highlights." This means those areas are pure white, and unfortunately, the detail is gone for good.
But if the graph is just heavily skewed to the right without hitting that wall, you're in business. There’s data there to recover.
The Go-To Sliders for Quick Fixes
Once you've diagnosed the extent of the damage, it's time to gently pull that information back from the brink. In programs like Adobe Lightroom or Camera Raw, your first line of defense is a trio of foundational sliders.
- Exposure: This is your big, blunt tool. It darkens the entire image—highlights, mid-tones, and shadows—all at once. Start here to bring the overall brightness down.
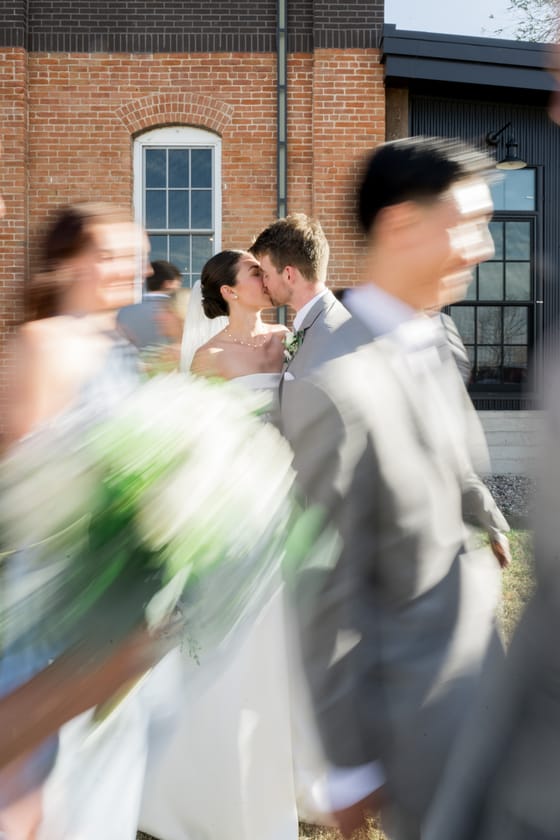
- Highlights: This is a more refined tool. It specifically targets the brightest areas of your photo without muddying up your mid-tones. It's perfect for bringing back detail in a bright sky or a white wedding dress.
- Whites: This slider adjusts the absolute brightest points of the image. Use it to tone down specular highlights, like a glint of sun on water or the shine on a metallic surface.
This simple workflow—diagnose, adjust, assess—is the core of any good photo recovery effort.
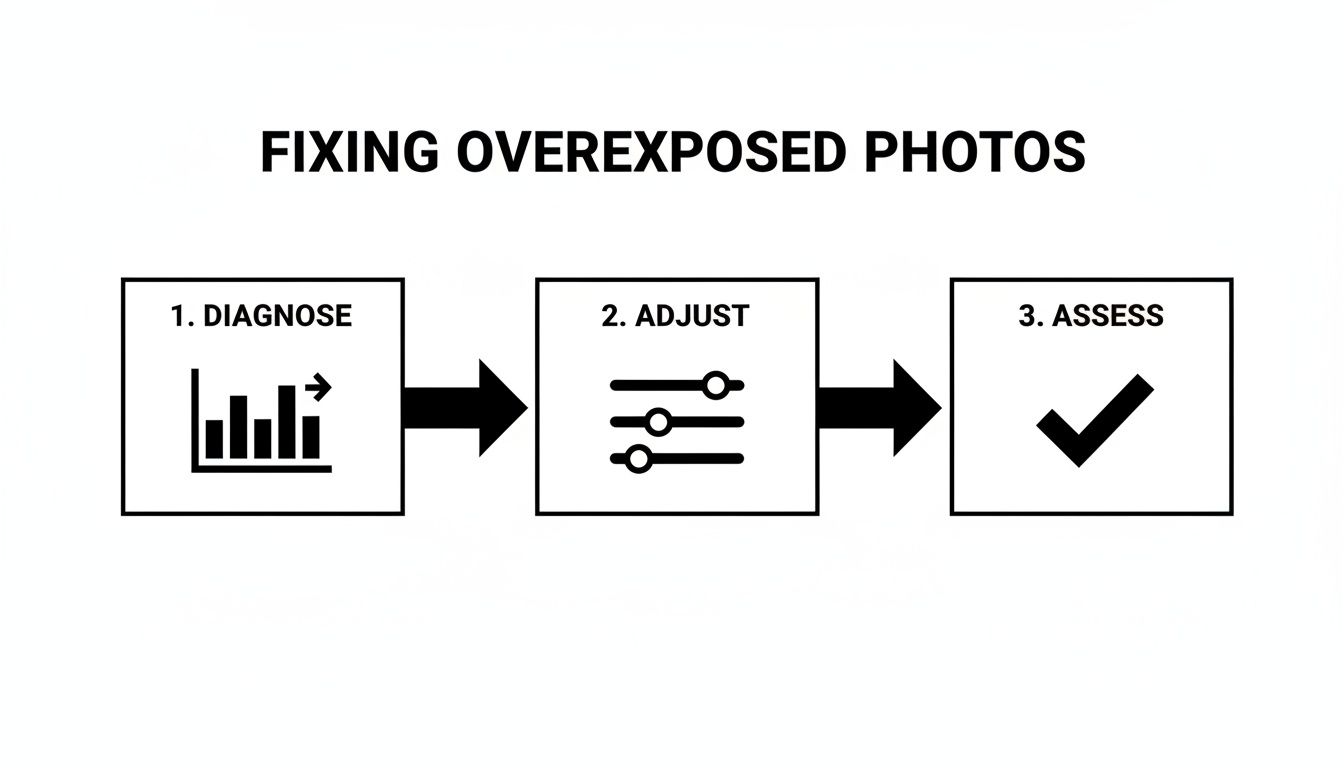
Starting with a quick look at the histogram ensures you're not just guessing. It guides your hand, helping you apply the right adjustments from the very beginning.
RAW vs. JPEG: Why Your File Choice Is Everything
Your ability to rescue a photo is heavily dependent on the file type you shot. One of the biggest differentiators between amateur and pro results is the choice to shoot in RAW.
Lightroom is the workhorse for most professional editors, and the workflow is clear: a RAW file gives you the power to recover 2-3 stops of exposure without the image falling apart. A JPEG, on the other hand, is much less forgiving. It's a compressed file, meaning a lot of that precious image data has already been discarded. You might get away with recovering about 1 stop of exposure before you see nasty artifacts, banding, and color shifts.
Before diving deep into editing, it's helpful to know what you can realistically expect from your file. This table gives you a quick reference for what's possible.
Initial Exposure Triage: RAW vs. JPEG Recovery Potential
| File Type | Recoverable Exposure Stops | Key Adjustment Sliders | Common Outcome |
|---|---|---|---|
| RAW | 2-3 stops | Exposure, Highlights, Whites | Significant detail in skies and bright surfaces is often recoverable with clean results. |
| JPEG | ~1 stop | Exposure, Highlights | Detail recovery is limited; pushing it too far introduces color banding and a "muddy" look. |
The takeaway is simple: RAW files give you a massive safety net for editing.
Pro Tip: Always, always shoot in RAW if you can. It’s the closest thing we have to a digital negative. A JPEG is like a finished print—what you see is what you get. A RAW file holds all the original, unprocessed sensor data, giving you incredible flexibility to fix mistakes and make creative choices later.
Of course, the best fix is prevention. Knowing how to prepare for a photoshoot by mastering your camera settings and reading the light will save you countless hours in front of the computer.
The Essential Toolkit for Lightroom and Camera Raw
When you’re trying to rescue an overexposed image, moving beyond a one-size-fits-all fix is everything. Adobe Lightroom and its counterpart, Camera Raw, give you a powerful set of tools for precise control, but you have to know how to use them. The first step is truly understanding the difference between the Exposure, Highlights, and Whites sliders.
Think of them like a surgeon's scalpels—each one has a very specific job. Just yanking down the main Exposure slider is a brute-force approach. It darkens everything at once, including your mid-tones and shadows, which can make your subject look flat, muddy, and unnatural. A much smarter workflow involves using the right tool for the right part of the problem.
Getting this right is a huge deal. A surprising number of the digital photos taken every year end up with blown highlights, and so many of them come from smartphones. Knowing how to handle these basic adjustments is non-negotiable.
Differentiating the Core Adjustment Sliders
To actually fix an overexposed photo, you need to know when and why to use each slider. They might look similar, but their effects are completely different.
- Exposure Slider: This is your big, global adjustment. It’s best for photos that are just too bright all over. I usually use this sparingly at first, just to get the image into a more manageable range before I get into the fine-tuning.
- Highlights Slider: This is your detail-recovery powerhouse. It specifically goes after the brightest parts of your image without crushing the mid-tones. It's the perfect tool for pulling back texture in a washed-out sky or on sun-drenched skin.
- Whites Slider: This one controls the absolute brightest pixels—the white point. It's your go-to for taming distracting specular highlights, like the glare off a car windshield or the intense glint in someone’s eye.
Picture a portrait where your subject looks great, but the sky behind them is a solid block of white. If you lower the overall Exposure, you'll make your subject too dark. The real fix is to use the Highlights slider to bring back the blue in the sky while leaving the person’s skin tones alone.
A Real-World Wedding Photography Scenario
Let's walk through a classic problem: a bride in a detailed white lace dress, standing in bright sunlight. The camera metered for her face, and now the delicate patterns in her dress are completely blown out, looking like a flat white blob.
Your first instinct might be to grab the Exposure slider. Don't. You'll make her skin look dull and grayish. Instead, here’s the workflow I use every time:
- Start with Highlights. Gently pull the Highlights slider to the left. You’ll immediately see the texture and intricate patterns of the lace start to reappear from those bright white areas.
- Fine-Tune with Whites. If you still have some hot spots that are just too distracting, nudge the Whites slider down a bit. This will control those most intense bright spots without flattening the rest of the dress.
- Assess and Adjust Exposure. Only after you’ve done the targeted recovery, look at the overall image. If it still feels a little too bright, now you can make a small tweak to the main Exposure slider.
By targeting the highlights first, you’re performing a surgical correction instead of a blunt one. This technique preserves the natural feel of the scene and keeps skin tones looking vibrant and healthy—a must for professional portraiture.
This methodical approach is the key to a balanced, natural-looking final image. It ensures you recover every bit of detail possible without making the photo look fake or heavily edited. Understanding these little nuances is a huge part of developing your own wedding photography editing styles that feel both timeless and authentic. The goal, after all, is to make the photo look like you nailed it perfectly in-camera, even when you had to save it in post.
Advanced Recovery Techniques in Photoshop
So, you’ve pushed the sliders in Lightroom or Camera Raw as far as they can go, and that stubborn, blown-out highlight just won’t budge. This is when it's time to bring your image into the digital darkroom's surgical suite: Adobe Photoshop. For those really tough shots—a backlit wedding portrait where the sky is pure white, or a beautiful interior where the windows are glowing—Photoshop gives you the precision needed to save the day.

Here, we're not just making broad adjustments. We're talking about pixel-level control, allowing you to fix specific problem areas without muddying up the parts of the image that already look great.
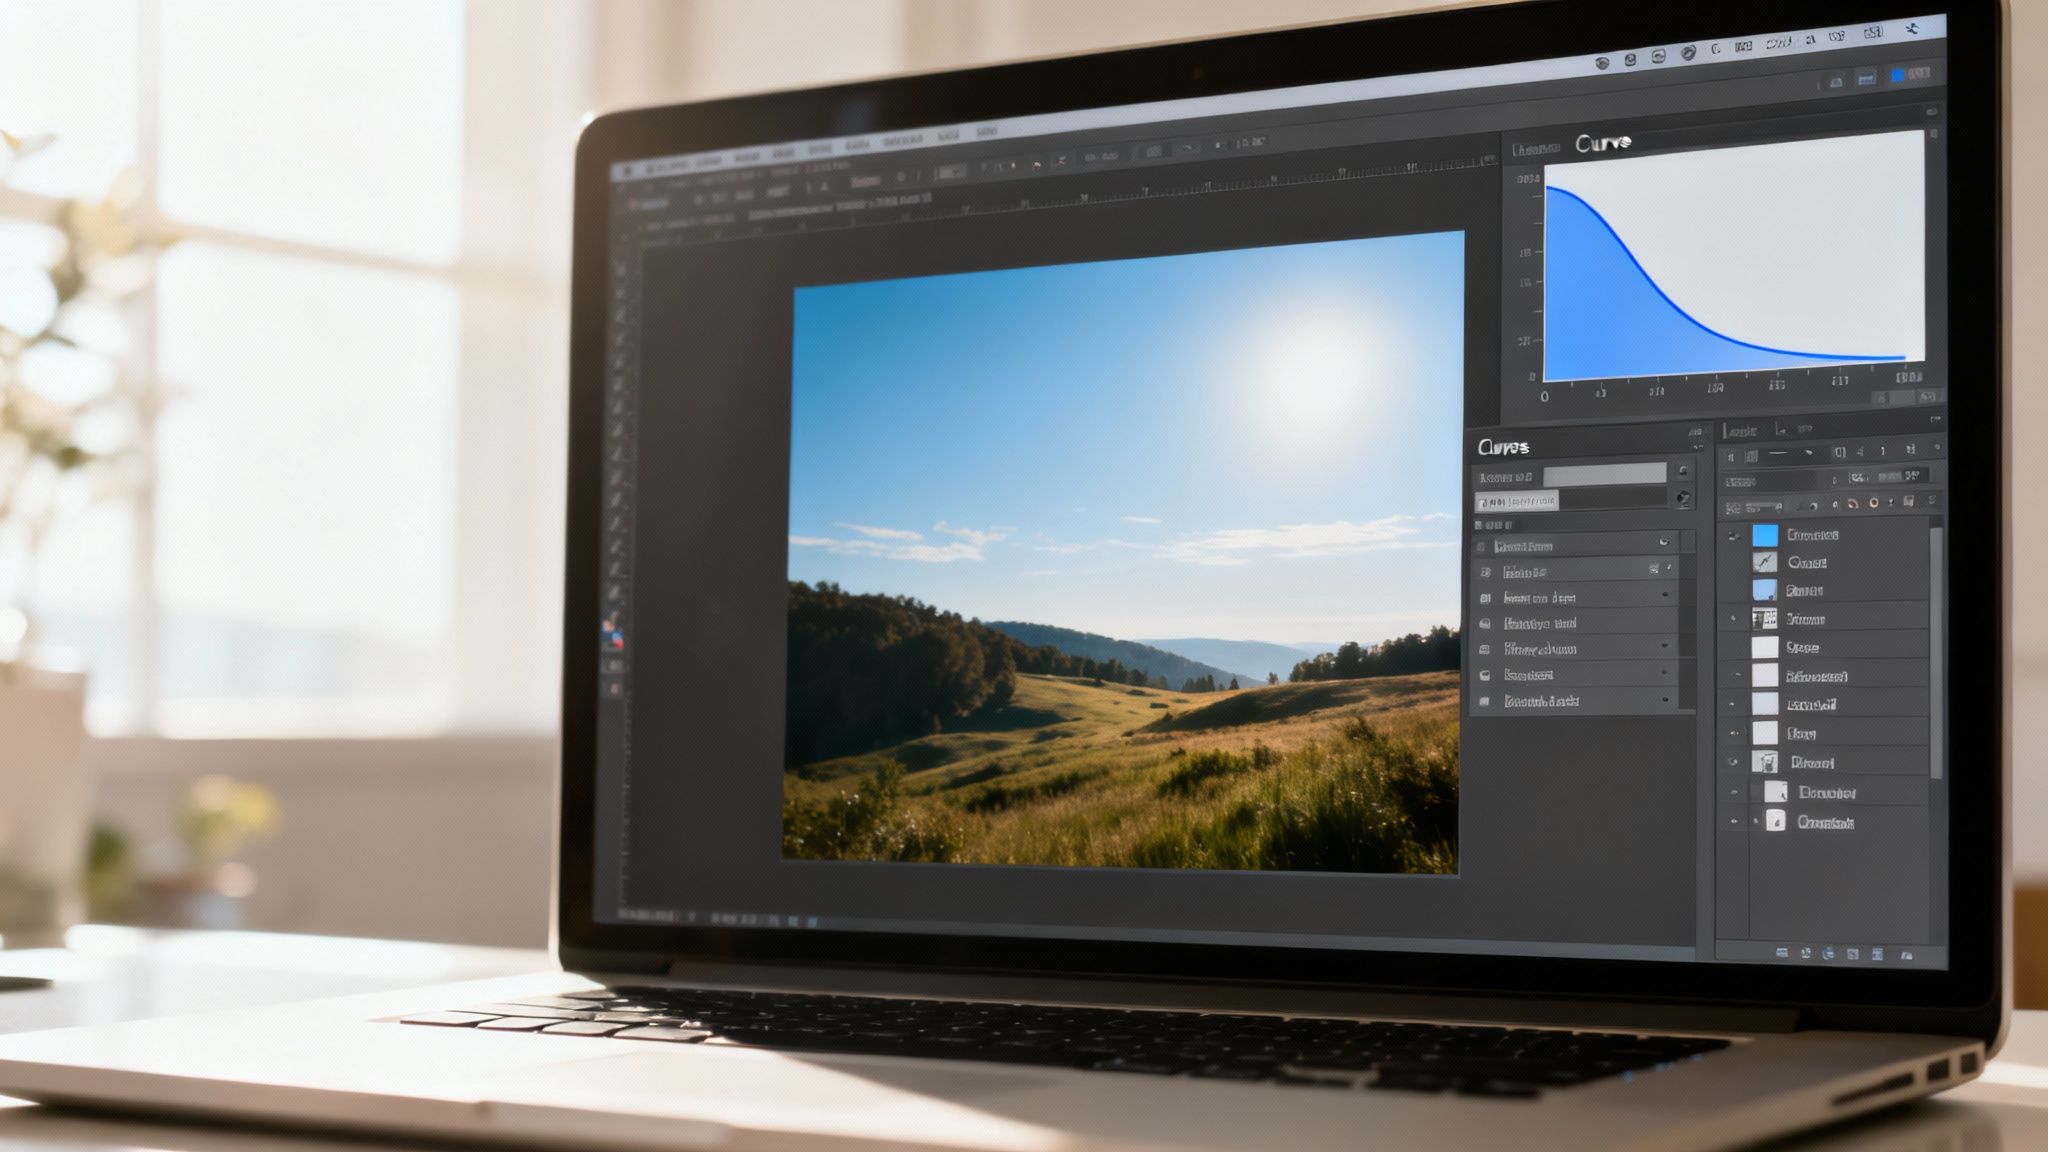
Harnessing the Power of Curves
If there’s one tool in Photoshop that feels like a superpower, it’s the Curves adjustment layer. It looks a little intimidating at first, but it’s actually incredibly intuitive once you get the hang of it. The diagonal line simply maps your image's current tones to new ones. The bottom-left is your shadows, the middle is your mid-tones, and the top-right is your highlights.
Imagine you have that backlit portrait where the sky is completely blown out, but your subject looks fantastic. A global exposure drop would make your subject look muddy and underexposed. This is where Curves comes in.
To fix it, you'll want to add a Curves adjustment layer. Your first move is to click on the middle of the diagonal line to add an "anchor point." This essentially tells Photoshop, "Don't touch the mid-tones." You can do the same for the shadows. Now, you can grab the very top of the curve and gently pull it down. Watch as the sky magically starts to regain color and detail, all while your subject remains perfectly exposed.
That’s the beauty of it—you’re performing delicate surgery on one part of the tonal range without collateral damage.
The Magic of Luminosity Masks
For the ultimate in precision, nothing beats luminosity masks. This is a technique the pros swear by, and for good reason. A luminosity mask is a selection based entirely on the brightness of your pixels. In other words, you can create a perfect, feathered mask that isolates only the overexposed highlights.
Let's go back to that classic wedding photo scenario: a bride in a gorgeous white dress stands in front of a bright, sunlit window. The dress detail is there, but the window is a wall of white. With a luminosity mask, you can select just the window, letting you apply a Curves adjustment to bring back the view outside without touching the delicate tones of the dress itself.
This technique is the pinnacle of targeted editing. Instead of trying to paint a mask by hand and getting those ugly, tell-tale halos, you’re letting Photoshop create a flawless selection based on the image’s own data.
While you can build these masks from scratch, many photographers use specialized panels or actions that generate them with a single click. Once you have the mask, you just apply it to your adjustment layer and edit away. The changes are confined perfectly to the bright areas, giving you an unbelievably natural-looking recovery.
Creative Solutions with Blending and Cloning
Sometimes, fixing a photo requires more of an artist’s touch than a technician’s. Two classic Photoshop tools, when used with a bit of finesse, can work wonders.
-
The Clone Stamp Tool: Is a patch of that white wedding dress so blown out that there’s zero texture left? Grab the Clone Stamp tool, but dial the opacity way down to 10–15%. Sample a nearby area with good detail and gently paint over the blown-out spot. It’s like rebuilding the fabric thread by thread.
-
Exposure Blending: For those extreme dynamic range scenes, like a room with a bright window, sometimes the best fix is to blend two different exposures. In the field, you’d take one shot exposed for the room and another exposed for the view outside. In Photoshop, you layer them and use a simple mask to paint in the perfectly exposed window. The result is a single, seamless image that looks completely natural.
Mastering these skills is what really starts to separate good photographers from great ones. In fact, if you want to see more practical ways to elevate images with editing techniques on our blog, we dive deeper into this kind of post-production magic.
And since harsh light often creates distracting glare, learning advanced techniques for removing reflections in Photoshop is another skill that goes hand-in-hand with fixing overexposure. When you combine these powerful tools, you can confidently rescue images you once thought were lost forever.
Fixing Overexposed Photos on Your Phone
Let's be real—not every great shot is taken with a DSLR. More often than not, the best camera you have is the one in your pocket. Knowing how to fix an overexposed photo right on your phone means you can correct and share a great moment in minutes, no computer required.
The great news is that mobile editing apps have come a long way. Powerhouses like Adobe Lightroom Mobile and Snapseed now pack many of the same controls you'd find in their desktop versions. This gives you the precision needed to rescue a photo that's just a little too bright, especially if you're shooting in RAW—a feature now available on most modern smartphones.
Quick and Targeted Fixes with Snapseed
Google's Snapseed is a fantastic, and completely free, tool that has a killer feature for overexposure: the Selective tool. It lets you tap on a specific problem area—like a blown-out sky or a sunlit patch on someone's face—and adjust it without touching the rest of the image.
Imagine you snapped a great portrait, but the bright sun behind your subject has completely washed out their hair and the background. Instead of darkening the entire photo and plunging your subject into shadow, you can use the Selective tool to pinpoint just the overexposed parts.
Here’s how I’d tackle that:
- Open the photo in Snapseed, head to Tools, and tap Selective.
- Tap on the brightest part of the image. A control point will pop up.
- Swipe vertically to select "Brightness," then just swipe horizontally to the left to darken only that spot.
- You can drop multiple control points on different areas, giving you an incredible amount of control over the final look.
This is my go-to method for saving photos where only a portion of the frame is the issue. It creates a far more natural-looking fix than a simple global adjustment ever could.
The Power of Lightroom Mobile for Seamless Workflows
If you're already using Adobe products, Lightroom Mobile is an absolute must. It gives you the same core sliders you know and love—Exposure, Highlights, Whites, and Shadows—so the editing experience feels familiar and powerful right on your phone or tablet.
The real magic of Lightroom Mobile, though, is its cloud-syncing. You can start an edit on your phone moments after taking a shot, maybe pulling back some highlights while you're still on location. When you get back to your computer, those adjustments are already synced and waiting for you, ready for fine-tuning on a bigger screen.
Think about this scenario: you capture a great food photo for Instagram in a brightly lit cafe. The plate looks delicious, but the white tablecloth is completely blown out. In Lightroom Mobile, you can pull down the Highlights and Whites sliders to bring back the texture in the fabric, all before you've even paid the bill.
The freedom to edit on the go without sacrificing quality is what makes mobile workflows so valuable today. Whether you're on your commute, grabbing lunch, or just away from your desk, these apps prove you don't need a full setup to get amazing results. You just need the right tools in the palm of your hand.
How to Prevent Overexposure Before You Shoot
The best way to fix an overexposed photo is to never take one in the first place. I know, I know—post-processing is a safety net, but nothing beats getting the shot right in-camera. Nailing your exposure on set doesn't just save you hours of editing; it gives you a higher-quality image with far more detail and richer color to work with.
It all boils down to understanding how your camera sees the world. That little light meter inside is constantly trying to average out a scene to a neutral "middle gray." This works fine in simple lighting, but throw in a bright sky behind your subject, and the meter gets confused. More often than not, it will blow out the highlights to try and properly expose the rest of the scene.
Choosing the Right Metering Mode
Your first line of defense is choosing the right metering mode. Think of these as different ways your camera analyzes the light, and knowing which one to use in a given situation is a game-changer.
Here's a quick rundown of what your metering modes do and when to use them to avoid headaches later.
Camera Metering Modes for Different Scenarios
| Metering Mode | Best For | How It Works | Common Mistake to Avoid |
|---|---|---|---|
| Matrix/Evaluative | Evenly lit landscapes, group shots, general "walk-around" shooting. | The camera's default. It analyzes the entire frame and creates a "best guess" balanced exposure. | Relying on it for high-contrast scenes. It will often overexpose the sky to get detail in the shadows. |
| Center-Weighted | Traditional portraits, subjects in the middle of the frame. | It prioritizes the light in the center of the frame, ignoring the corners. | Forgetting your subject isn't centered. If your subject is off to the side, this mode will ignore them. |
| Spot Metering | Backlit portraits, high-contrast scenes, wildlife, creative control. | Your precision tool. It reads light from a tiny point, usually tied to your focus point. | Metering off the wrong spot. If you meter a dark jacket, the face might be blown out; meter the sky, and your subject becomes a silhouette. |
For tricky lighting, spot metering is your best friend. It puts you in the driver's seat, letting you tell the camera exactly which part of the scene is most important.
Mastering Your In-Camera Tools
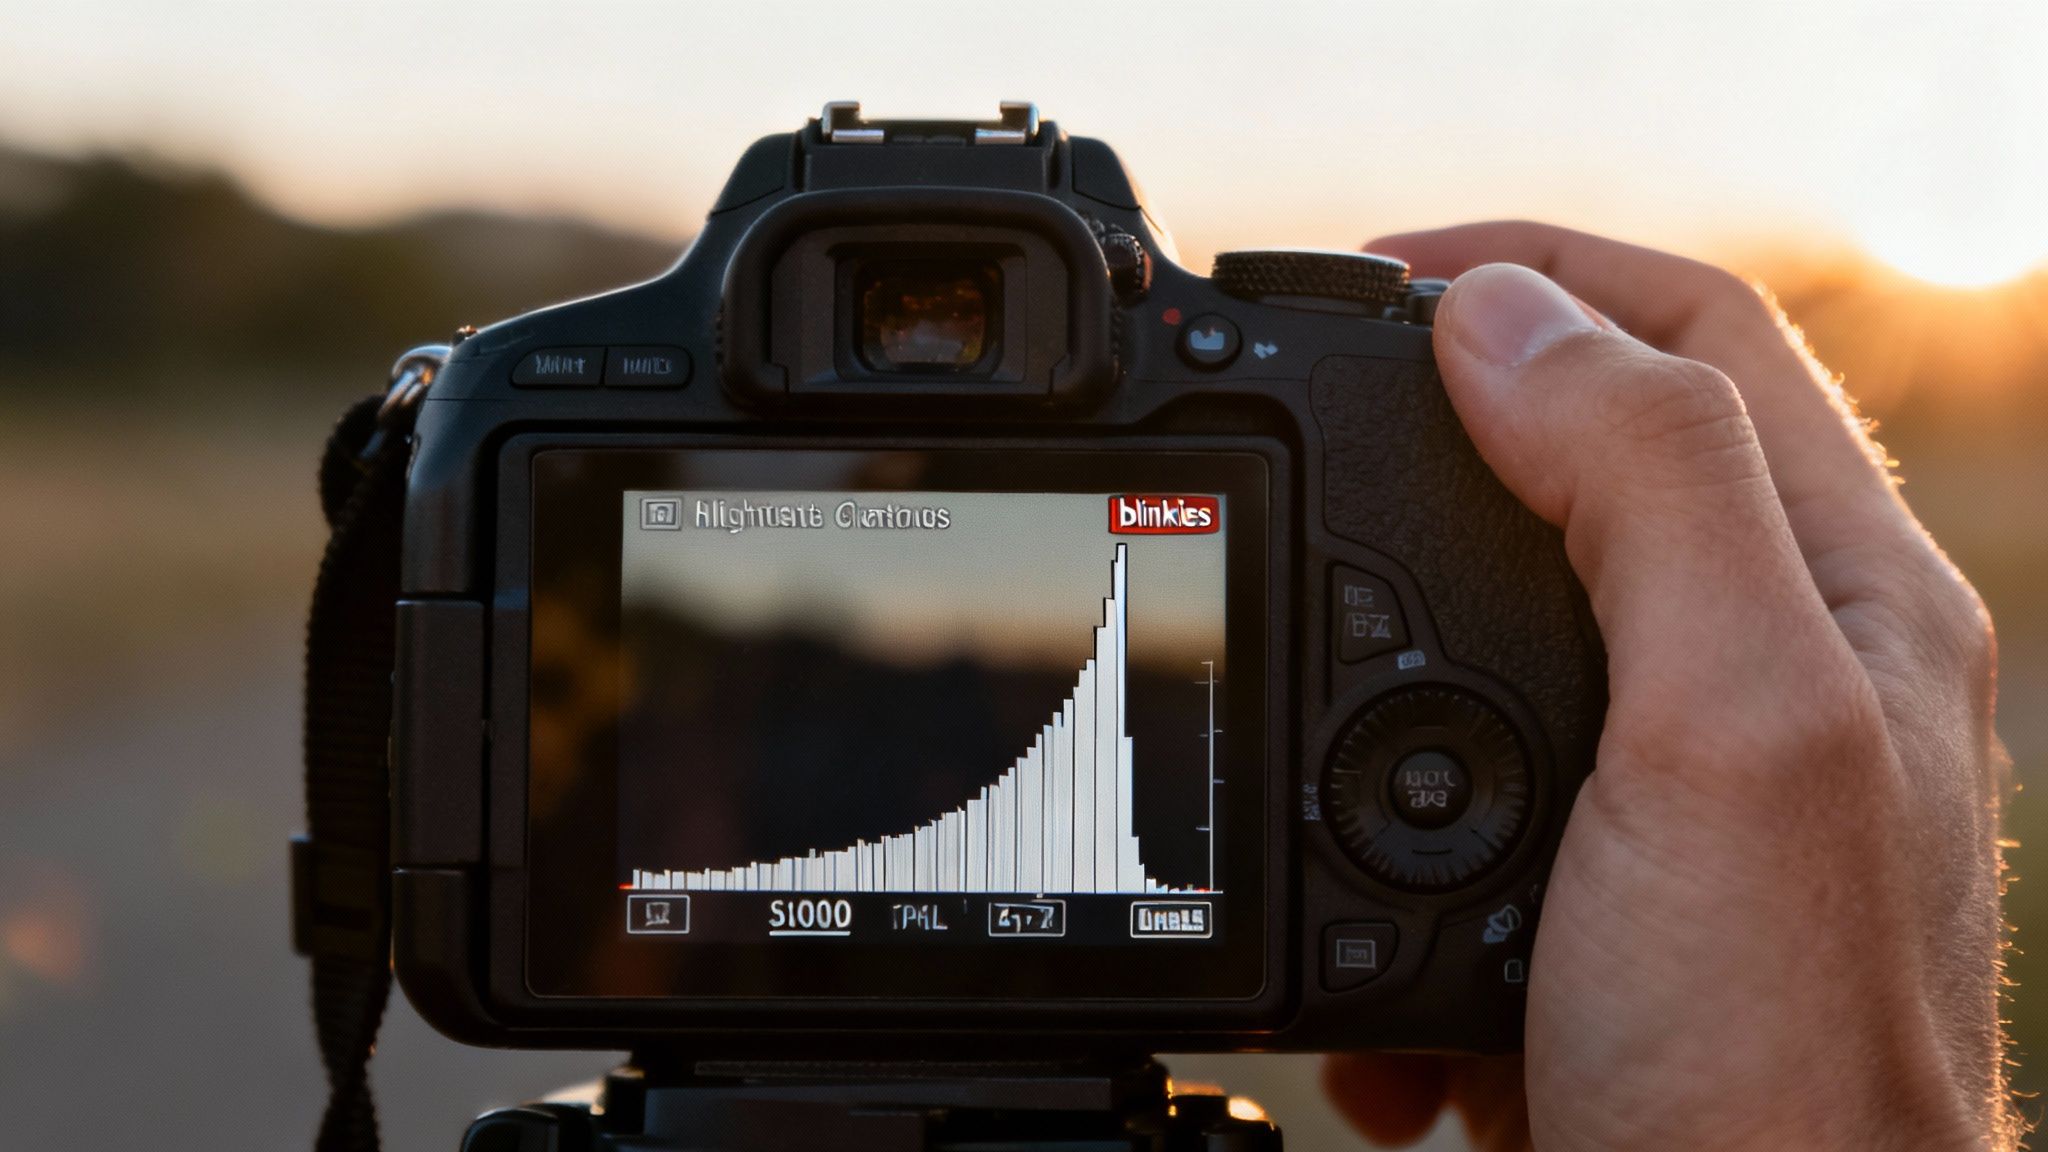
Your camera is packed with tools designed to help you nail exposure. You just have to learn to trust them. The two most important are the live histogram and highlight warnings.
The live histogram is a real-time graph of your photo's brightness levels. The right side is your highlights, the left is your shadows. If you see a big spike slammed up against that right edge, you're losing detail—it's gone. The goal is to push the graph as far to the right as you can without it touching the edge.
Even better are the highlight warnings, which I just call "the blinkies." Turn this on in your menu, and any part of your image that's completely blown out will flash at you on the screen. It’s an impossible-to-miss signal that you need to dial your exposure back.
Using these two tools together is how pros work. The histogram gives you the data, and the blinkies give you a clear, immediate warning. Trust them over your LCD screen, which can be incredibly deceptive in bright sunlight.
To ETTR or Not to ETTR
You might have heard of a technique called "Expose to the Right" (ETTR). The idea is to make the image as bright as possible without clipping the highlights, which theoretically captures more data and results in cleaner files.
While it can work, it's a high-risk strategy. If you get it wrong and blow out even a small part of a wedding dress, that detail is gone forever. A much safer approach for digital photography is to slightly underexpose. Today's camera sensors are fantastic at retaining detail in the shadows. It’s far easier to lift shadows and clean up a little noise than it is to recover highlights that have been clipped into pure white oblivion.
Of course, reading the light yourself is the ultimate skill. Understanding how the sun's position and quality affect your scene can make all the difference. You can dive deeper into this with our guide on the best time of day for outdoor photography—it’s crucial for avoiding those harsh, overexposed midday shots.
And don't forget the basics! A simple lens hood is one of the easiest ways to stop stray light from hitting your lens, which causes flare and washes out your image. By combining smart camera settings with good on-set habits, you can stop fighting overexposure and start creating beautifully lit images straight from your camera.
Common Questions About Fixing Overexposure
When you start digging into photo editing, especially fixing overexposure, the same questions tend to pop up again and again. Let's get straight to the answers for some of the most common hurdles photographers face.
Can All Overexposed Photos Be Fixed?
Honestly, no. The ability to save an overexposed photo comes down to a single, critical factor: clipped highlights.
Think of it this way: when an area of your photo is so bright that the camera's sensor just sees pure white, it stops recording any detail. All the texture, color, and information in that spot is simply gone. It's like a sound recording that's so loud it just becomes static—you can't recover the original sound because it was never captured in the first place.
If you look at your histogram and see a big spike slammed up against the far-right edge, that’s the digital equivalent of a flatline. The data in those highlights is permanently lost. You can darken the area to make it gray, but you can’t magically bring back texture that was never recorded. This is the single biggest reason why shooting in RAW is a non-negotiable for professional work; it holds onto so much more data, giving you a fighting chance to pull back those almost-lost highlights.
Is It Better to Underexpose or Overexpose?
With modern digital cameras, it's almost always better to slightly underexpose an image than to overexpose it. Why? Because today's sensors are incredible at retaining detail in the shadows.
When you lift the shadows in an underexposed shot, you might see a bit of digital noise. But noise is a solvable problem. A little noise reduction in Lightroom or your editor of choice can clean it up beautifully.
Blown-out highlights, on the other hand, are a dead end. Once that information is gone, it’s gone. Trying to "recover" them just results in ugly, flat gray patches that scream "editing mistake."
A little manageable noise in the shadows is a far better problem to have than unrecoverable, detail-less highlights. Your number one rule should always be to protect the highlights.
What’s the Quickest Way to Batch Edit Overexposed Photos?
Coming home from a long wedding or a big corporate event with hundreds of similarly overexposed photos can be daunting. The thought of fixing each one individually is enough to make anyone want to procrastinate. The solution isn't to edit faster, but to edit smarter with batch processing.
Here's a workflow I use all the time to save hours of work:
- Pick a Hero Image: First, find one photo from a specific lighting scenario (like all the shots by that bright reception window) that’s a good representation of the group.
- Nail the Edit: Tweak that single image until it's perfect. Pull down the highlights, adjust the exposure, maybe lift the shadows—get it looking exactly how you want.
- Save It as a Preset: Now, save those adjustments as a new preset. Give it a useful name you'll remember, like "Reception Window Backlight Fix."
- Sync Across the Board: Select all the other photos from that same lighting situation, and with one click, apply your new preset to all of them using the 'Sync' function.
After syncing, you can quickly scroll through the images and make tiny, individual tweaks where needed. This simple process transforms what could be hours of tedious, repetitive clicking into a few minutes of focused, high-impact editing.
If you have more questions about photography or editing, you might find your answer in our frequently asked questions section.
At Candid Studios, we pair technical know-how with creative passion to make sure every photo is not just taken, but truly crafted. From your wedding day to your next big event, we focus on the details so you can stay in the moment. See our work at Candid Studios.