Mastering Food Photography: Capturing Culinary Delights in a Lens
In today’s visually-driven world, where social media platforms are teeming with tantalizing food images, mastering the art of food photography is an invaluable skill. Whether you’re a food blogger, a professional chef showcasing your creations, or simply an avid foodie with a passion for capturing gastronomic delights, this guide is here to help you elevate your food photography game to new heights.
Mastering Food Photography: Unleashing the Flavors through the Lens
Food photography is more than just snapping pictures of sumptuous dishes. It’s about conveying the essence, flavors, and textures of food through a visual medium. By harnessing the power of composition, lighting, props, and styling, you can create captivating images that not only make your audience’s mouths water but also tell a story. Let’s delve into the key aspects of mastering food photography:
1. Equipment: The Tools of the Trade
To embark on your food photography journey, you’ll need the right equipment to capture mouthwatering moments. Here’s a breakdown of essential gear you should consider:
1.1 Camera Selection: Finding the Perfect Frame
Invest in a DSLR or mirrorless camera that offers manual controls for ultimate creative freedom. Look for models with a high-resolution sensor, good low-light performance, and the ability to interchange lenses.
1.2 Lenses: The Art of Precision
Prime lenses with a focal length between 35mm and 100mm are ideal for food photography. They provide a shallow depth of field, allowing you to create that coveted blurred background effect while keeping the food as the star of the show.
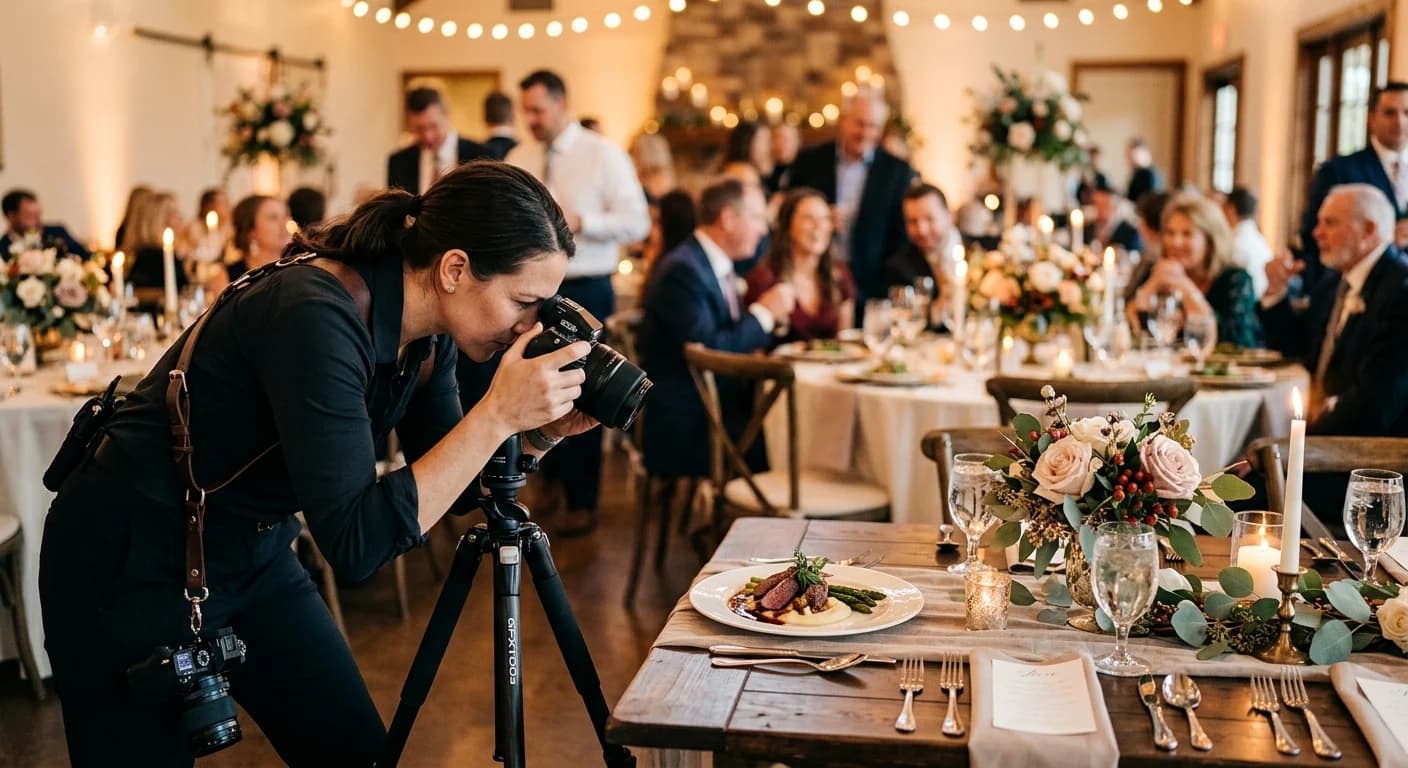
1.3 Tripod: Steady as You Go
A sturdy tripod is essential for achieving sharp, detailed images. It helps eliminate camera shake and allows for longer exposure times, resulting in well-exposed and tack-sharp photos.
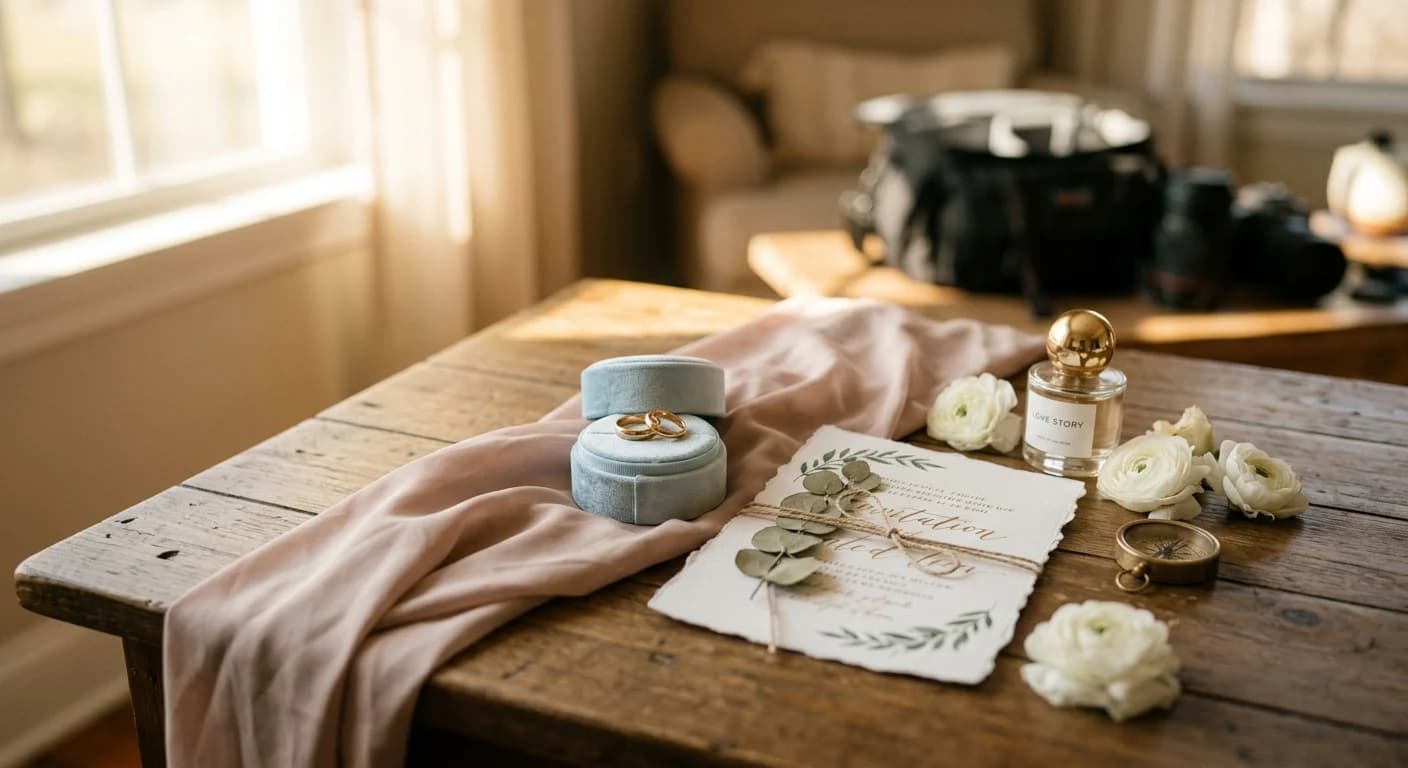
1.4 Props and Accessories: Adding Visual Interest
Experiment with different props, such as cutlery, napkins, and fresh ingredients, to add depth and visual interest to your food compositions. Don’t forget to have a collection of attractive plates, bowls, and backdrops to complement your dishes.
2. Lighting: Illuminating the Culinary Magic
Lighting plays a crucial role in food photography, setting the mood and highlighting the textures and colors of your subjects. Here are some tips to master the art of lighting:
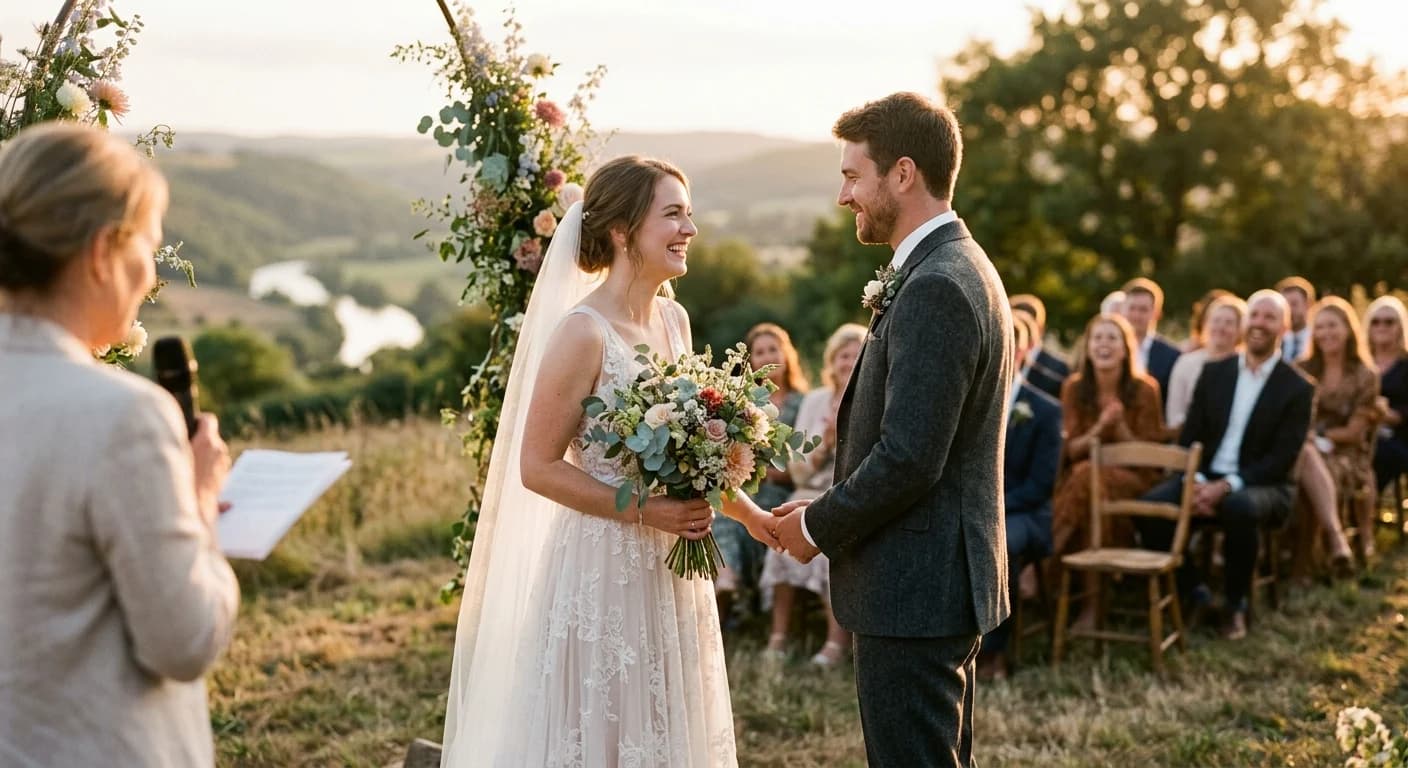
2.1 Natural Light: Nature’s Perfect Gift
Harness the beauty of natural light whenever possible. Position your setup near a large window or shoot outdoors during the golden hour (the hour after sunrise or before sunset) for soft, diffused lighting that brings out the best in your dishes.
2.2 Artificial Light: Controlling the Ambience
When natural light is limited or inconsistent, artificial lighting comes to the rescue. Invest in a reliable continuous lighting setup or a versatile speedlight flash system to have full control over the intensity and direction of light.
2.3 Light Modifiers: Shaping the Scene
Experiment with light modifiers such as diffusers and reflectors to soften harsh shadows, reduce glare, and create a pleasing, even illumination. Diffusers can be as simple as a white sheet or a purpose-made diffuser panel.
3. Composition: Crafting Visual Stories
Masterful composition brings your food photography to life, transforming it from a mere snapshot to a work of art. Here are some tips to help you create visually compelling compositions:
3.1 Rule of Thirds: Finding Balance
Divide your frame into a grid of nine equal sections using two horizontal and two vertical lines. Place the key elements of your composition along these lines or at their intersections to create a visually pleasing balance and draw the viewer’s eye.
3.2 Leading Lines: Guiding the Viewer
Utilize leading lines, such as utensils, table edges, or patterns on a plate, to guide the viewer’s gaze towards the main subject. These lines create a sense of depth and draw attention to the most important elements of your composition.
3.3 Negative Space: Emphasizing the Subject
Incorporate negative space, which is the empty area surrounding your subject, to provide breathing room and emphasize the main dish. It allows the viewer to appreciate the food without distractions and adds a sense of elegance to your composition.
3.4 Color Harmony: Creating Visual Cohesion
Consider the color palette of your composition and aim for harmonious combinations. Use complementary colors or stick to a specific color scheme to create a cohesive and visually appealing image. Remember, food photography is not just about taste but also about stimulating the viewer’s visual senses.
4. Styling: Making Food Look Irresistible
Styling plays a significant role in food photography, making the food look irresistible and enticing. Here are some styling tips to make your dishes shine:
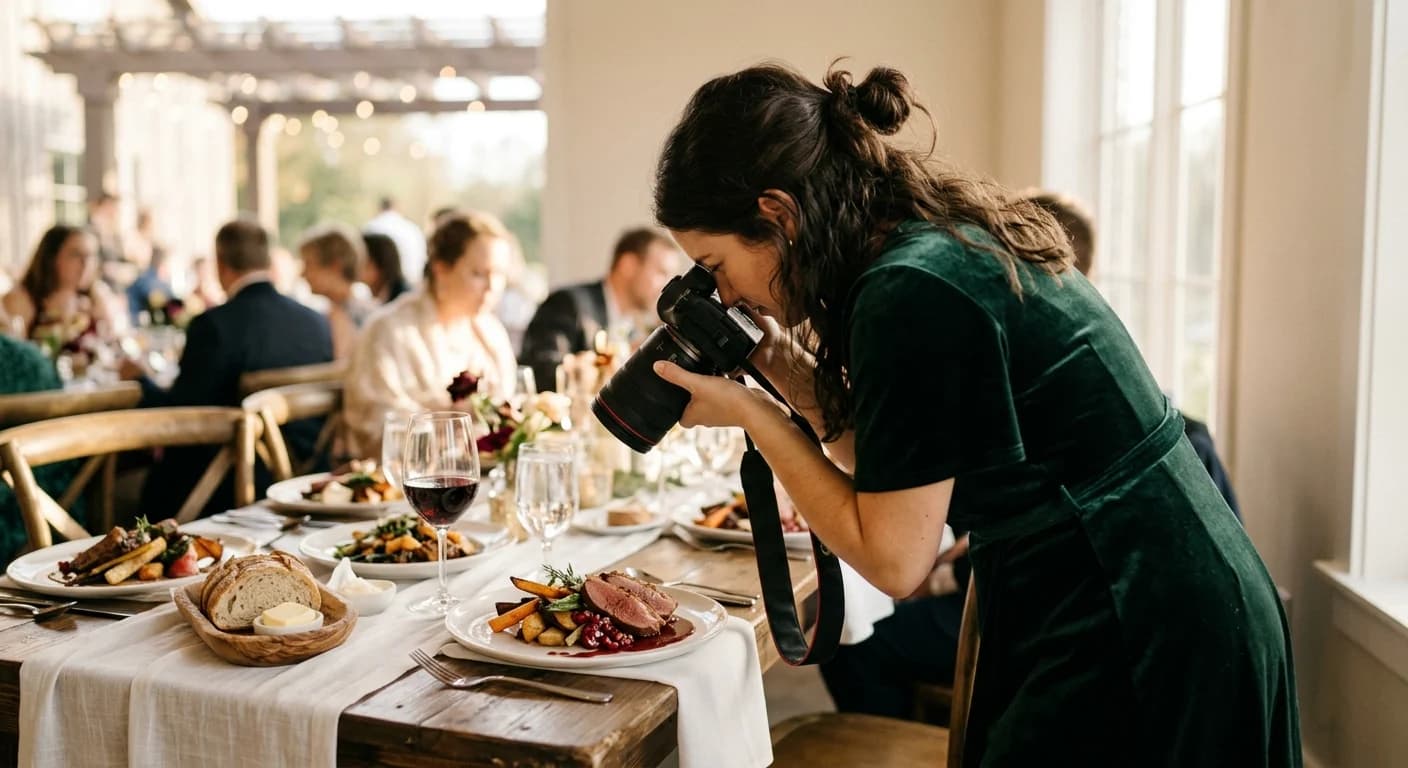
4.1 Freshness and Texture: Highlighting the Ingredients
Emphasize the freshness and texture of the ingredients by strategically placing them in the frame. Sprinkle herbs, add a drizzle of sauce, or showcase the steam rising from a hot dish to create a sense of dynamism and make the viewer crave a taste.
4.2 Garnishing: Adding Finishing Touches
Don’t underestimate the power of garnishing. Sprinkle some powdered sugar, arrange a few fresh berries, or add a sprig of mint to enhance the visual appeal of your dish. Garnishes not only add color and freshness but also provide context and elevate the overall presentation.
4.3 Prop Placement: Balancing the Scene
When using props, ensure they enhance the composition rather than overpowering the food. Place props strategically to add context and visual interest. For example, a cup of coffee alongside a slice of cake or a stack of cookbooks can convey a cozy, inviting atmosphere.
4.4 Textures and Layers: Creating Depth
Enhance the visual interest of your composition by incorporating different textures and layers. Consider the contrasting textures of crispy crusts, creamy sauces, or gooey chocolate. Showcasing these layers adds depth to your image, making it more captivating.
5. Camera Settings: Capturing Culinary Perfection
Understanding and utilizing proper camera settings is essential for capturing culinary perfection. Here are some key settings to consider:
5.1 Aperture: Controlling Depth of Field
Choose a wide aperture (small f-number like f/1.8 or f/2.8) to create a shallow depth of field. This blurs the background and brings the main dish into focus, making it the star of the image. Experiment with different apertures to achieve the desired effect.
5.2 Shutter Speed: Freezing or Blurring Motion
Adjust your shutter speed based on the desired outcome. A fast shutter speed (1/250 or higher) freezes the action, perfect for capturing sharp details. On the other hand, a slower shutter speed (1/60 or slower) can be used to intentionally blur certain elements, such as pouring sauces or steam rising from hot food, adding a sense of movement and dynamism to your images.
5.3 ISO: Balancing Light and Noise
Keep your ISO as low as possible to maintain image quality and reduce noise. However, in low-light situations, you may need to increase the ISO to ensure proper exposure. Strike a balance between capturing enough light and avoiding excessive noise in your images.
5.4 White Balance: Setting the Right Tone
Pay attention to the white balance settings to ensure accurate color representation. Different lighting conditions can cast different color temperatures, so adjust your white balance accordingly. You can use the preset modes, such as daylight or tungsten, or manually adjust the temperature and tint to achieve the desired look.
Mastering Food Photography FAQs
FAQ 1: How can I make my food photos stand out on social media?
To make your food photos stand out on social media, focus on creating visually appealing compositions, experimenting with different angles, and utilizing natural light whenever possible. Use props and styling techniques to add interest, and don’t forget to engage with your audience by sharing the story behind the dish.
FAQ 2: What are some common mistakes to avoid in food photography?
Some common mistakes to avoid in food photography include using harsh, direct flash, overexposing or underexposing the image, overcrowding the composition, and neglecting the importance of styling and props. Additionally, be mindful of distracting backgrounds and maintain consistency in your editing style.
FAQ 3: How can I improve my food styling skills?
Improving your food styling skills takes practice and experimentation. Start by studying food magazines, cookbooks, and online resources for inspiration. Pay attention to details such as the arrangement of ingredients, garnishes, and the overall balance of the composition. Practice arranging different dishes and props, and don’t be afraid to try new techniques and take risks.
FAQ 4: What are some tips for capturing steam or motion in food photography?
To capture steam or motion in food photography, you can use a slower shutter speed to create a sense of movement. Alternatively, you can add steam artificially by using a food-safe prop, such as cotton soaked in hot water, strategically placed near the dish. Experiment with different techniques to achieve the desired effect.
FAQ 5: How important is post-processing in food photography?
Post-processing plays a significant role in enhancing the visual impact of your food photos. It allows you to adjust exposure, color balance, sharpness, and other elements to create a polished, professional look. However, it’s essential to maintain a balance and avoid excessive editing that may distort the natural appearance of the food.
FAQ 6: What are some recommended resources for further learning about food photography?
There are several resources available to further your knowledge and skills in food photography. Some popular options include online courses, books, tutorials on photography websites and YouTube channels, and joining photography communities or forums. Learning from experienced food photographers and practicing regularly will also contribute to your growth in this field.
Conclusion
Mastering the art of food photography requires a combination of technical know-how, creativity, and a passion for both food and visuals. By understanding the key elements of equipment, lighting, composition, styling, and camera settings, you can capture stunning images that entice and inspire your audience. Remember, practice makes perfect, so keep honing your skills, exploring new techniques, and experimenting with different dishes to create your signature style in the world of food photography.